

Nano Banana 2.1 Product Recoloring: Keep Texture and Shape
For a Nano Banana 2.1 product recolor, start with a clear product photograph in Image-to-Image. Name the surface that should change color and list the parts that should stay the same. Keep the material, construction, lighting, and camera angle stable, then compare the result with the original before accepting the new color.
Open the Nano Banana 2.1 image editor to explore a color concept from an existing image. This guide follows an unbranded canvas tote: its olive body becomes terracotta, while its cream handles, stitching, pocket shape, and background remain part of the preservation brief. The prompts are original suggestions, not tested model outputs.
Google's model card includes object/environment editing and product consistency in its evaluation coverage. That makes product edits a relevant task to explore, but the document does not guarantee exact color reproduction or unchanged pixels. Treat each proposed colorway as a candidate that needs checking.
Decide what the recolor will be used for
A mood-board concept, a client-approved design, and a product listing have different acceptance requirements. Choose the intended use before generating variants.
| Intended use | What the edited image can help you discuss | What still needs confirmation |
|---|---|---|
| Early color exploration | Whether a color family suits the product and scene | Which direction to develop |
| A design review | Color placement alongside retained materials and trim | Physical material samples and stakeholder approval |
| A customer-facing product image | Presentation of an actual available variant | The real product's color, construction, and included details |
A generated recolor does not establish that a real item exists in that color. Do not turn an exploratory variant into an approved SKU photograph without checking it against the actual product. If accurate material color is essential, finish with a suitable product-photography and color-review workflow.
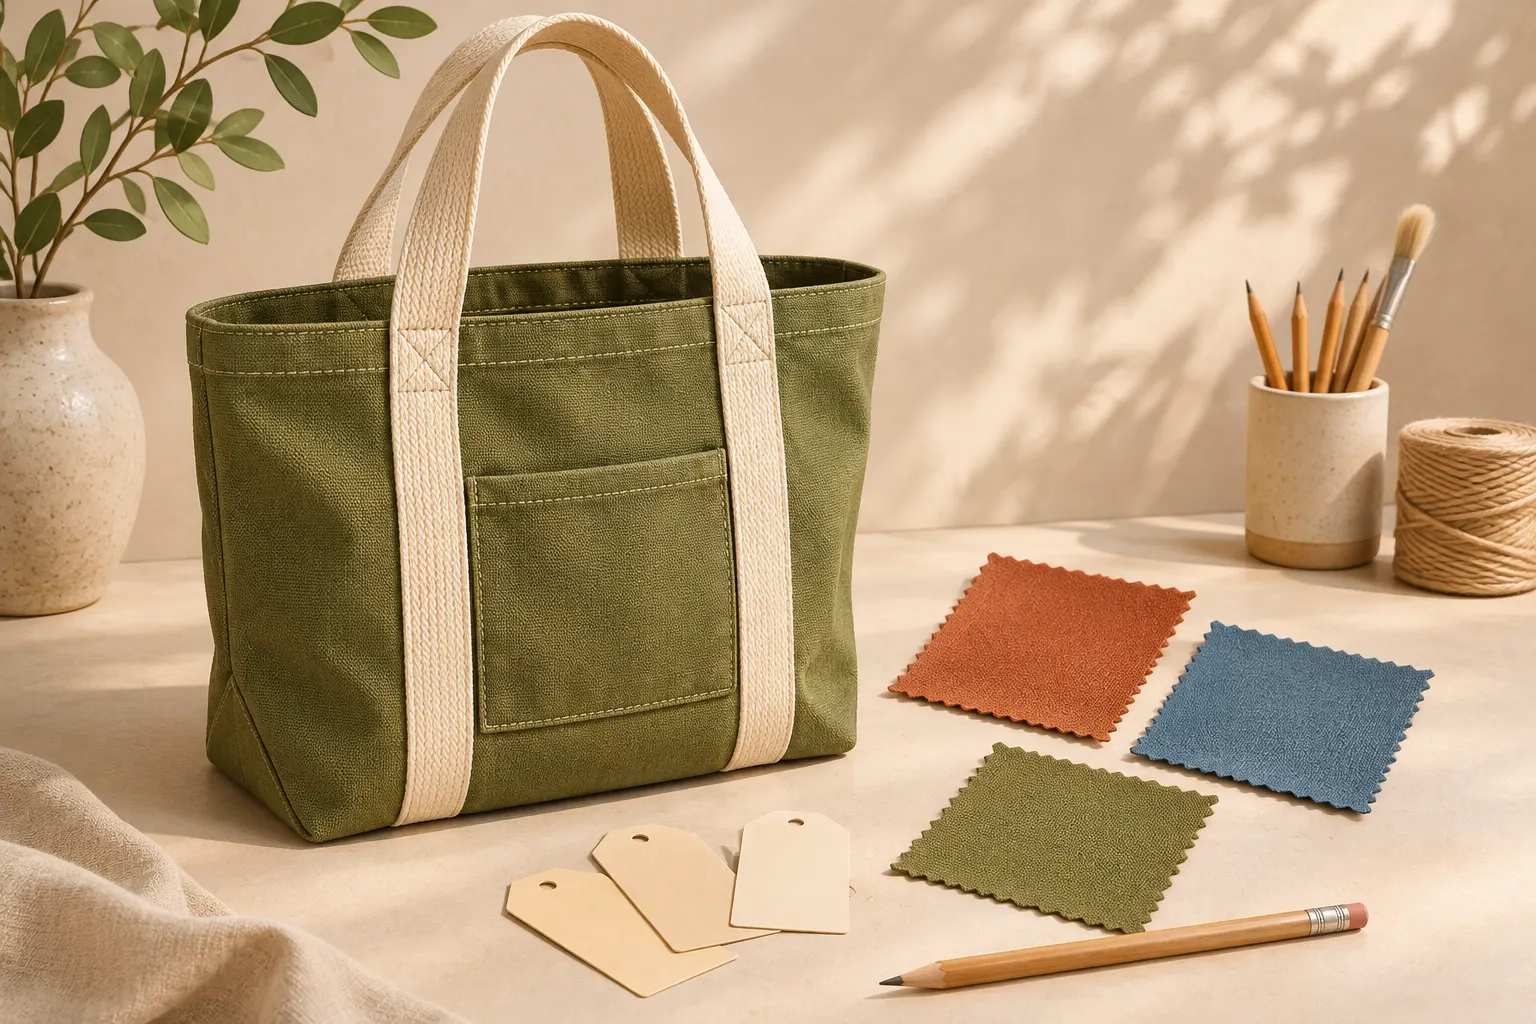
Original color-planning concept illustration. The swatches are illustrative directions, not measured color standards or Nano Banana 2.1 test results.
For the tote, a useful first objective is “explore a warm terracotta canvas body.” It is narrower and easier to assess than “make this bag look premium,” which invites changes to materials, hardware, lighting, and styling.
Write a surface map before the prompt
Describe the product as parts. “Recolor the bag” can include the handles, lining, pocket, trim, and stitching. If only the exterior canvas should change, say so.
For your actual source, make a short map:
- Change: the exterior canvas body and its canvas front pocket.
- Preserve: the natural cream webbing handles and the existing stitching color.
- Preserve structure: silhouette, pocket size, seams, folds, attachments, and camera view.
- Preserve scene: background, contact shadow, and direction of light.
Use what is visible in your photograph. If a lining or back panel is hidden, the source cannot verify its true appearance. A separate approved view can help a review, but the generated image is not evidence of an unseen construction detail.
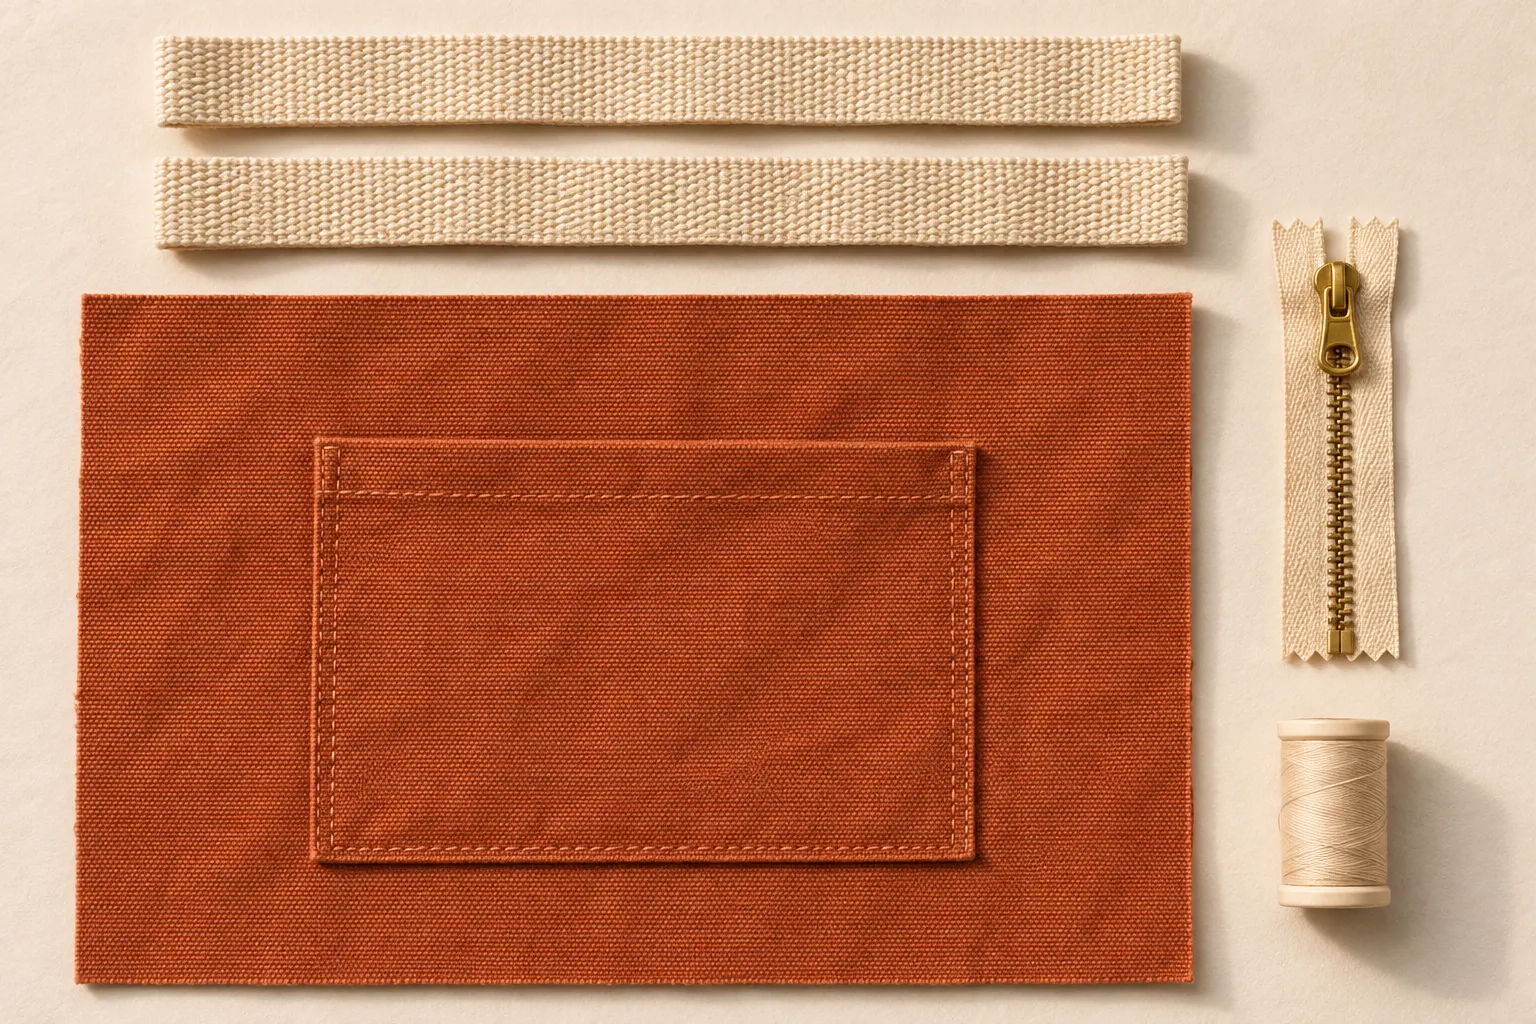
Original material-role concept board, not a sewing pattern, editing mask, or part list for a specific tote. It illustrates why colored fabric, trim, and hardware need separate instructions.
This map is a writing aid. It does not mean the site's editor exposes a separate layer or a mask for each material. The reference-image guide explains how to give references different roles if you use more than one.
Change the color without requesting a new material
Color, surface finish, and illumination are different variables. A request for “glossy terracotta” may replace the canvas appearance with something that looks coated or plastic. If the aim is a fabric colorway, preserve the matte woven finish explicitly.
Try this with a suitable photograph:
Change only the olive exterior canvas body and canvas front pocket of the uploaded tote to a muted warm terracotta. Keep the natural cream webbing handles and the existing stitching color unchanged. Preserve the woven canvas texture, matte finish, seam lines, pocket dimensions, folds, attachment points, silhouette, camera angle, crop, background, and original lighting. Keep lighter areas and shadows consistent with the existing fabric shape. Do not add hardware, logos, lettering, patterns, props, or a glossy coating.
Replace those details with your product's actual features. For metal, ceramic, glass, or leather, name the relevant finish and inspect it afterward; the same color instruction will not describe every material well.
A hexadecimal code or reference swatch can communicate a direction, but it does not guarantee that every pixel will match that value. A photographed surface contains highlights, shadows, texture, and reflected light. Do not make a shaded fold a flat patch simply to make it resemble the swatch.
Generate a controlled first version
Choose Nano Banana 2.1 and Image-to-Image, upload the original, and enter the focused prompt. Keep the aspect ratio close to the source when the product's framing should remain stable. Check the selected resolution, image count, and displayed credit charge before submitting.
Begin with one candidate while the brief is unsettled. Higher resolution cannot repair a changed seam or an invented clasp. If you want another color, return to the same original and replace the target-color phrase, rather than repeatedly recoloring an already altered candidate.
Keep the original prompt and settings with the outputs. Label files by the intended color and review state, such as “terracotta-concept” and “blue-concept.” Those names identify creative candidates; they are not confirmation that the corresponding product variants have been manufactured or approved.
Review texture and construction before judging the color
First compare the original and candidate at a similar size. Has the bag become wider? Did the pocket move? Are the handles attached in the same places? A recolor that changes the product's design has not met a color-only brief.
Then inspect the surface at full size. Follow the weave across folds and seams. Look for smeared fibers, repeated texture, broken stitching, filled openings, or color spilling onto trim and background. Inspect the boundary between the body and handles particularly carefully.
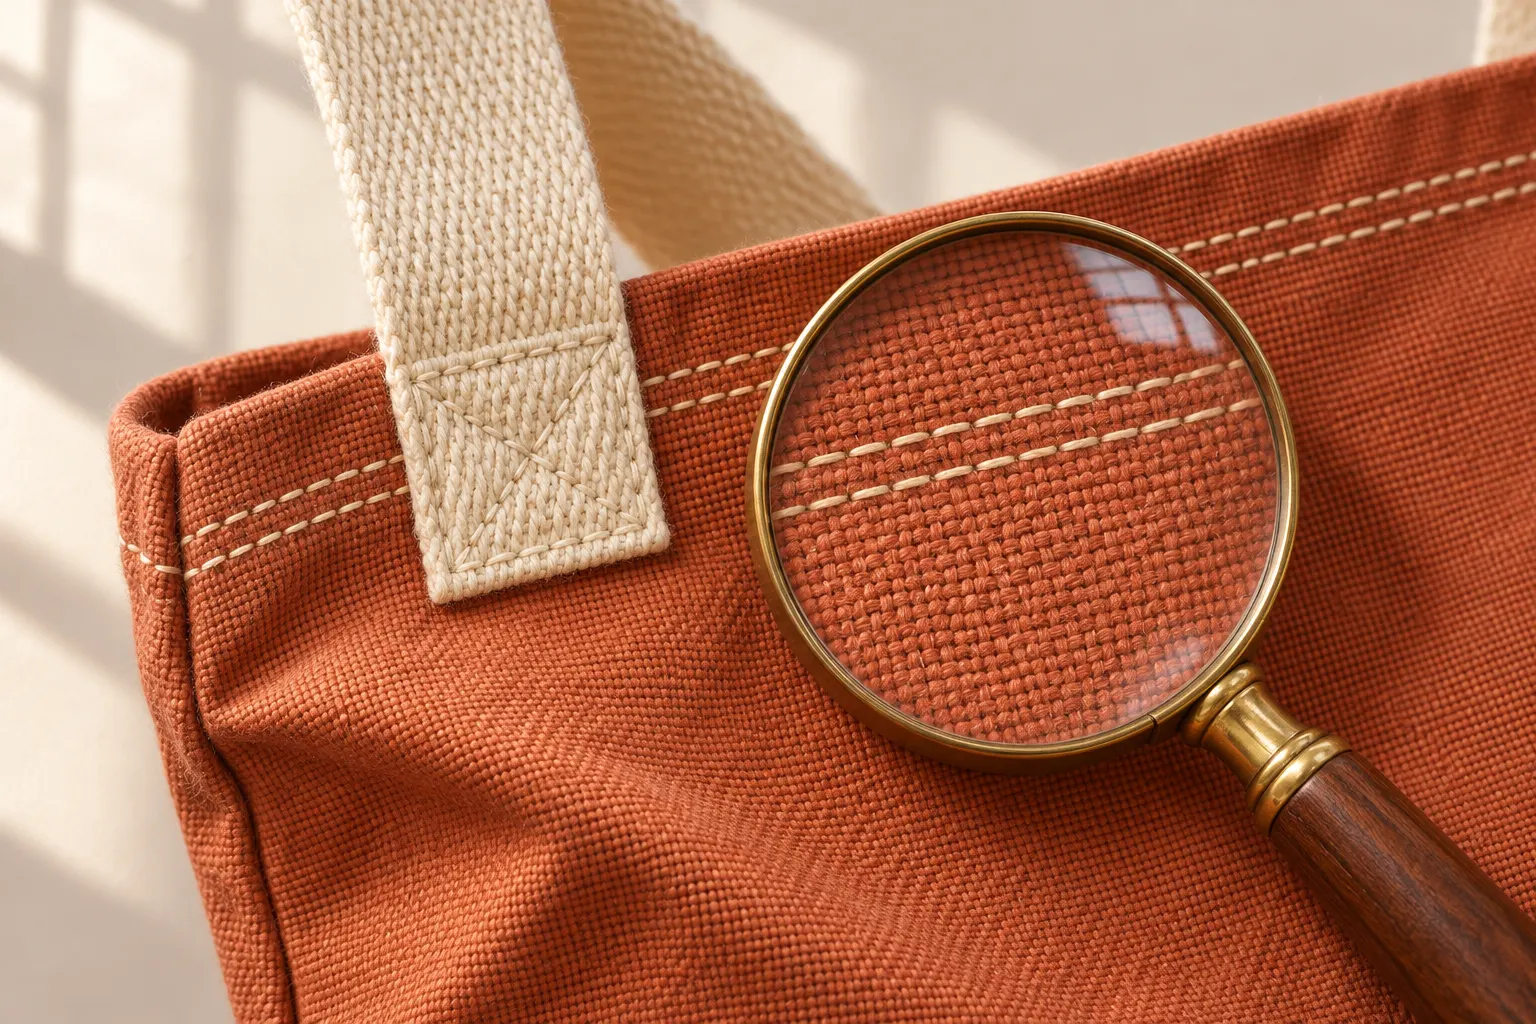
Original inspection concept illustration. It shows details to review, not evidence that an actual recoloring preserved them.
Finally assess the color in context. Is it the requested color family? Do highlights and shadows still describe the material? Did the neutral background or cream handles acquire an unwanted tint? Compare against the real reference used by your team, under an appropriate review setup, before approving a customer-facing asset.
Correct the defect you can identify
| Observed problem | Focused next step |
|---|---|
| The handles changed along with the body | Name the handles as cream webbing and the body as the only recolor target |
| The canvas looks smooth or plastic | Restate matte woven canvas and visible fiber texture; remove finish-changing language |
| Color spilled into the background | Specify that the surrounding scene and contact shadow stay as in the original |
| The pocket, stitching, or logo changed | Return to the original reference and restate the specific detail; reject inaccurate branding |
| The color looks wrong because the entire scene became warmer | Request preservation of the original illumination and background before evaluating hue again |
Make one revision at a time. If the design keeps drifting, a manually selected color adjustment may give you better control than another generative edit. The photo relighting guide is useful when a light change is actually intended; keep that decision separate from a color-only request.
Set a retry budget. The pricing and credit guide explains why the cost of an accepted asset includes revisions. A completed image still needs review even when the generation task itself succeeded.
Deliver the right kind of asset
Download the selected file, inspect its actual dimensions and format, and check the final crop in the destination layout. Keep the source photo, prompt, candidate, and review notes together. If a client approved only the color direction, preserve that distinction in the handoff.
For a real product listing, compare the finished image with the available variant and its approved specifications. If you need a new setting after the color is approved, use the separate background replacement guide and recheck the product afterward.
Upload a product photo in the editor and begin with one surface, one target color, and a clear list of details to preserve.
Site workflow and source documentation checked November 7, 2026. Written by the Nano Banana 2.1 team; no controlled product-recoloring benchmark was conducted for this guide.