

Nano Banana 2.1 Photo Relighting: Prompts and Checks
To relight a photo with Nano Banana 2.1, upload the original in Image-to-Image and describe the new light source, its direction, its softness, and the details that must stay unchanged. Start with one lighting change. Review the subject, shadows, and reflections together before accepting the result.
You can try this in the Nano Banana 2.1 photo editor. This guide uses an unbranded green ceramic vase as a fictional example. The prompts describe a workflow to try; they are not a report of measured results or a guarantee that the original image will remain pixel-identical.
Google's model overview describes improved visual quality and instruction following. Its model card also notes spatial-positioning errors and imperfect preservation of subjects. Those limitations matter when a lighting request says “left,” or when a new highlight changes the appearance of a face or product.
Decide whether you need new lighting or a simpler adjustment
If the photo only needs a small exposure, white-balance, or contrast correction, a conventional photo editor gives you direct control over those adjustments. It is often the better place to start when the existing objects, lettering, and geometry must remain exactly as photographed.
A generative edit is more useful when you want to explore a different lighting situation: a large soft source instead of harsh direct light, a warmer side light, or a brighter studio feel. It can also reinterpret details while making that change. Treat the output as a new image to inspect, rather than a transparent lighting layer placed over the original.
Before uploading, keep an untouched copy. Choose a source with enough visible detail to judge the subject. Asking for brighter light on a severely clipped or obscured area does not establish what was really there; any newly drawn detail needs particular scrutiny.
Write a lighting brief you can check
For the vase example, the intended change is modest: soft studio light coming from the left side of the image. The vase, camera view, and tabletop remain the same.
| Decision | Example instruction | What you will check |
|---|---|---|
| Source direction | Large light source outside the left edge of the image | Highlights favor the left-facing surface; the main cast shadow extends away from the source |
| Source quality | Soft, diffused light | Shadow edges are gradual rather than sharply outlined |
| Fill | Gentle fill on the right | The dark side retains useful shape without looking equally lit from every direction |
| Color | Neutral light with a slightly warm background | The green ceramic remains believable and is not recolored orange |
| Preservation | Same silhouette, rim, texture, camera angle, and crop | The vase has not become a new design |
Use directions tied to the image, such as “from outside the left edge,” instead of “the subject's left” when that could mean something different. In a complex scene, name the surface you expect to brighten. Describing the intended highlight and shadow makes the request easier to evaluate.
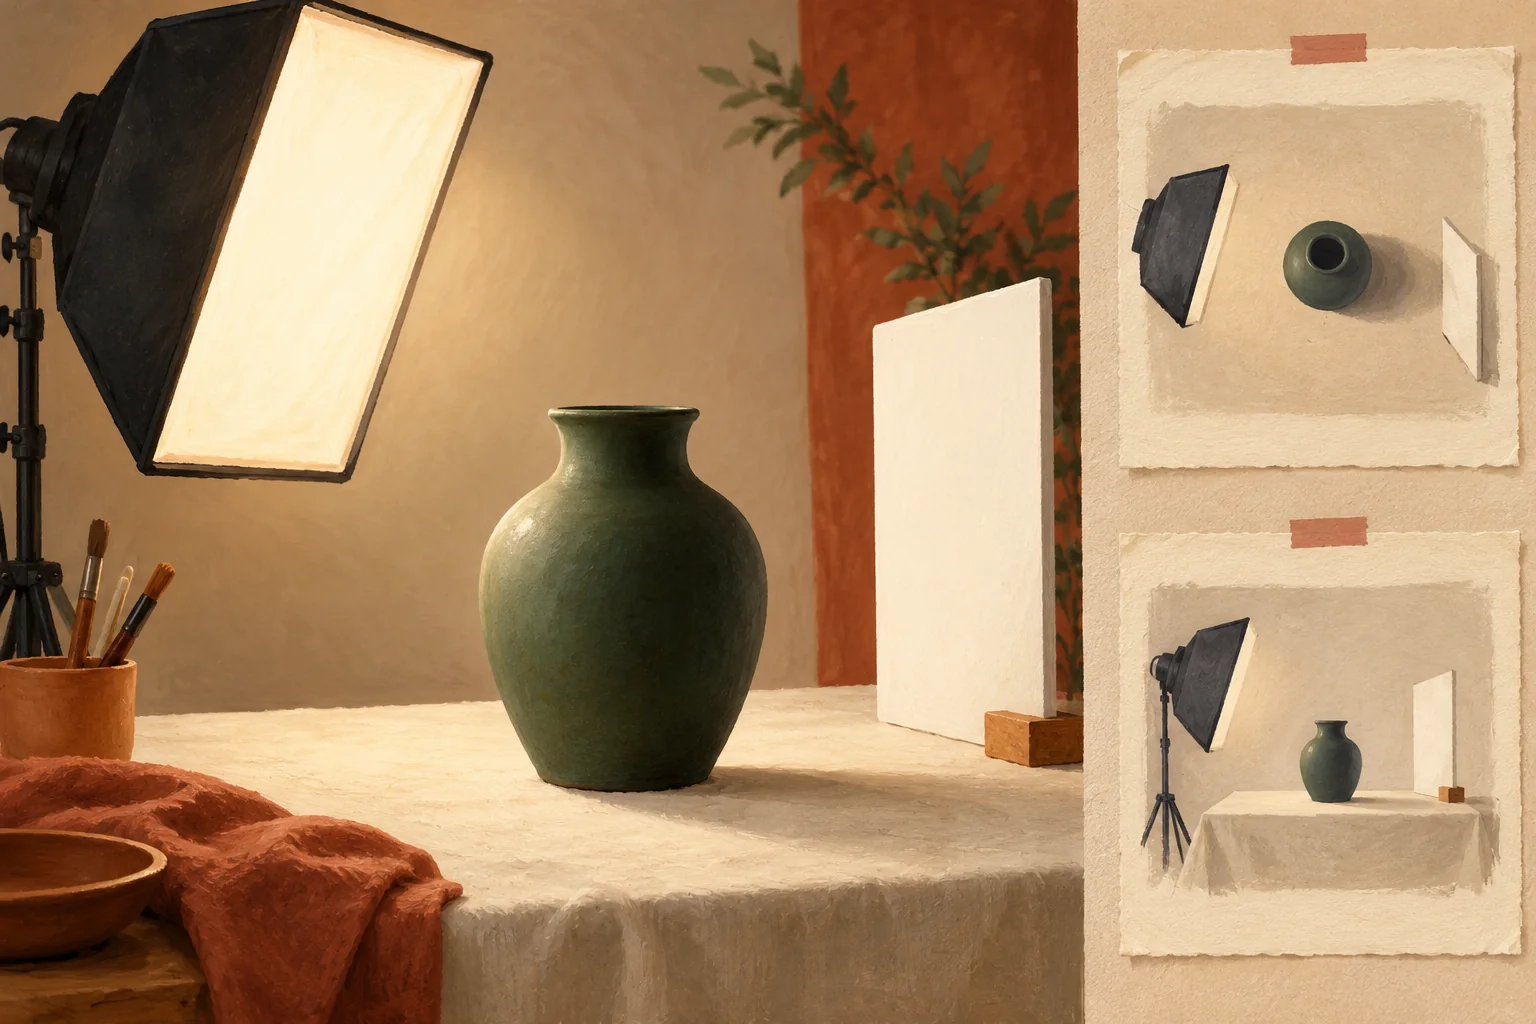
Original lighting-plan concept illustration. This is not a before-and-after test or a Nano Banana 2.1 output sample.
Do not combine a new background, different camera angle, changed material, and dramatic relighting in the first attempt unless all of them are part of the actual brief. A small request makes unwanted changes easier to identify.
Make the first Image-to-Image request
In the editor, choose Nano Banana 2.1, select Image-to-Image, and upload the photo. Select the intended aspect ratio and check the displayed credit cost. Keeping the original composition as your goal helps comparison, but selecting a ratio does not promise that every pixel or edge will remain fixed.
Try an original prompt like this:
Edit the uploaded photo by changing only the lighting. Keep the same green ceramic vase, its silhouette, rim, surface texture, tabletop, background objects, camera angle, and framing. Create soft neutral studio illumination from a large source outside the left edge of the image, slightly above the vase. Keep a gentle highlight on the vase's left-facing curve and a soft contact shadow extending to the right, away from the source. Add restrained fill on the right so the vase's shape remains readable. Preserve the green material color. Do not add a lamp, change the vase design, add text, replace the background, or introduce extra objects.
“Do not add a lamp” separates the light you want to see on the subject from a visible object in the scene. “Change only the lighting” expresses the goal, but the preservation list explains what that goal means for this particular photo.
For a portrait, replace the vase-specific terms with the person's face, apparent age, skin texture, hair, pose, and clothing. Review facial features carefully afterward. A request to soften shadows can still change skin detail or facial proportions.
If you add a lighting reference, explain its role: use its broad light direction and softness, not its person, furniture, or product. The reference-image guide explains how to separate those inputs.
Inspect the result as one lighting system
Begin with the subject itself. Compare the original and output side by side: is the vase still the same shape? Is its rim thickness plausible? Has a bright reflection become a painted stripe? A more attractive result can still fail the preservation requirement.
Then check the lighting relationships:
- Contact: the object should still appear to touch the table. A missing contact shadow can make it look as though it is floating.
- Direction: highlights and the dominant cast shadow should make sense for the source you requested. Multiple sources are possible, but an unexplained hard shadow in the opposite direction deserves review.
- Material: matte ceramic, polished metal, glass, and skin reflect light differently. Reject an edit that turns the material into something else just to create a stronger highlight.
- Background: nearby surfaces should not look as though they belong to an unrelated lighting setup. Watch for an unchanged harsh shadow behind a softly lit subject.
- Detail: inspect bright and dark areas at full size for invented edges, lost texture, halos, and changed lettering.
Finally, view the image at the size where it will be used. A tiny preview can hide a cutout edge or a smeared detail that becomes obvious in a product listing. Keep any exact labels or packaging artwork under separate review; the relighting request does not protect their spelling automatically.
Correct one mismatch, then compare again
If the first attempt changes the object, start again from the original photo with a narrower request. Using the altered result as the only source can carry its new geometry into later attempts.
If the subject is acceptable and only the lighting needs refinement, you can download the result and upload it for a focused revision. For example:
Keep the vase, rim, green ceramic texture, camera view, background, and framing unchanged. Reduce the strength of the highlight on the right side. Maintain the broad soft light coming from outside the left edge and preserve the soft rightward contact shadow. Make no other changes.
Review the whole image after the revision, including the areas you asked to keep. This workflow does not supply an editable lighting layer, a precise physical simulation, or a guarantee that a local correction will affect only the named area.
If the same unwanted change persists after one focused revision, reconsider the source and brief before generating again. For a small brightness correction, returning to exposure or masking tools may be the more controlled next step. If you need a different scene as well as different light, split the work into stages and inspect each one.
Budget for attempts, not just the selected image
At the time of checking, the site's Nano Banana 2.1 option charges 2 credits per 1K image, 4 per 2K image, and 6 per 4K image. Check the editor before submitting, because settings and prices can change. These are site credits, not Google API prices.
One 1K attempt plus one 1K correction costs 4 credits. A further 2K attempt adds 4, for a total of 8. If you then generate a separate 4K version, the total becomes 14. This is an example budget for four attempts, not a promise of an approved result for that amount. A batch multiplies the cost by the number of images requested.
Use an early attempt to decide whether the lighting direction is useful. Spend on a larger version after the main direction is worth pursuing, and inspect that new generation again. More pixels do not establish accurate geometry or recover the original scene's hidden detail. The pricing and credits guide covers the full cost calculation.
Keep the accepted image and its brief together
Save the untouched original, accepted output, prompt, and settings. For a series of product photos, reuse the same lighting description while checking each product's own shape and material. A lighting setup that suits a matte vase may need different instructions for a reflective watch or a transparent bottle.
For a wider product-image workflow, including new scenes and presentation assets, continue with the product photography guide. For a single relight, start with one photo and one clearly described source in the photo editor. Accept it when the new light works and the subject still meets your brief.
Written by the Nano Banana 2.1 Team. Product documentation and site settings checked November 1, 2026. No controlled relighting-quality benchmark was performed.