

Nano Banana 2.1 Product Photography Guide for Ecommerce Images
Nano Banana 2.1 can help turn an existing product photo into a cleaner packshot, a lifestyle scene, or a campaign variation. The most reliable workflow starts with a clear source image, uses Image-to-Image instructions that protect the product identity, and treats labels, logos, color, and geometry as details that require final human review.
Edit a product image with Nano Banana 2.1
The short answer
Upload the clearest product photo you have. Describe the new scene or change, then explicitly preserve the product shape, material, color, label, logo placement, camera angle, and any details that must remain accurate. Generate one focused change at a time. Check the result at full size before using it on a product page or in an advertisement.
What this workflow is good for
- Converting a basic product photo into a cleaner studio-style visual.
- Exploring seasonal or lifestyle backgrounds without reshooting every concept.
- Creating layout variations for banners, social ads, presentations, and catalog pages.
- Preparing a transparent cutout for use in other design software.
- Enlarging an approved image for larger placements or tighter crops.
AI-generated product visuals are creative assets. If exact product representation is required, compare every result against the real item and the approved source photography.
Step 1: Prepare the source photo
A stronger source reduces ambiguity. Use an image with:
- clear focus on the product;
- enough resolution to inspect the label and edges;
- lighting that reveals the material and shape;
- minimal obstruction over logos, controls, openings, or packaging;
- permission to use the photo and any visible protected material.
If you have several photos, choose the one closest to the final camera angle. Asking the model to preserve one view while inventing a very different view can create inconsistent geometry.
Step 2: Define the job before writing the prompt
Choose one primary task:
- Clean packshot: simplify the surroundings and create a neutral commercial presentation.
- Lifestyle scene: place the product in a context where it would realistically be used.
- Campaign variation: change the season, palette, lighting, or layout while keeping the product consistent.
- Transparent asset: remove the existing background for later layout work.
- Larger asset: upscale an approved image for a bigger placement.
Combining all five into one instruction makes the result harder to review. Complete and approve one stage before moving to the next.
Prompt formula for product edits
Use this structure:
Change [background, lighting, or composition]. Keep [product shape, material, color, label, logo, proportions, camera angle, and required details] unchanged. Use [visual style and lighting]. Leave [layout space] for [headline, price, or call to action].
Example for a clean packshot:
Replace the background with a warm off-white studio sweep. Keep the bottle shape, forest-green color, printed label, cap, proportions, and front-facing camera angle unchanged. Use soft diffused light and a natural contact shadow. Center the product with generous empty space around it.
Example for a lifestyle image:
Place the same bottle on a flat rock beside a mountain trail at sunrise. Keep the product shape, green finish, label, cap, and front three-quarter angle unchanged. Use realistic outdoor light and keep the label readable. Leave clear space on the left for campaign copy.
Step 3: Protect the details that matter
List the preservation rules instead of assuming the model knows which parts are commercially sensitive.
Brand and packaging
Check logo shape, spelling, label hierarchy, colors, and placement. Generated text can contain errors, so use a real approved label in final production when exact typography is required.
Product geometry
Inspect edges, openings, handles, buttons, seams, reflections, and repeated components. Compare the result with the source image instead of relying on memory.
Color and material
Name the color and finish, such as matte black aluminum, clear glass, brushed steel, or translucent amber plastic. Lighting can change perceived color, so keep a source image available for comparison.
Scale and context
A lifestyle background can make a product appear too large or too small. Include a believable surface and surrounding objects only when they help communicate scale.
Step 4: Build a useful set of deliverables
One approved composition can support several placements:
- square crop for a marketplace or catalog tile;
- portrait layout for a story or mobile ad;
- landscape layout with space for a headline;
- transparent PNG for comparison cards or banners;
- larger version for a detailed product page or print layout.
Generate with the intended placement in mind. Cropping a tightly framed square image into a wide banner often removes important information.
Use the supporting image tools
Create a transparent cutout
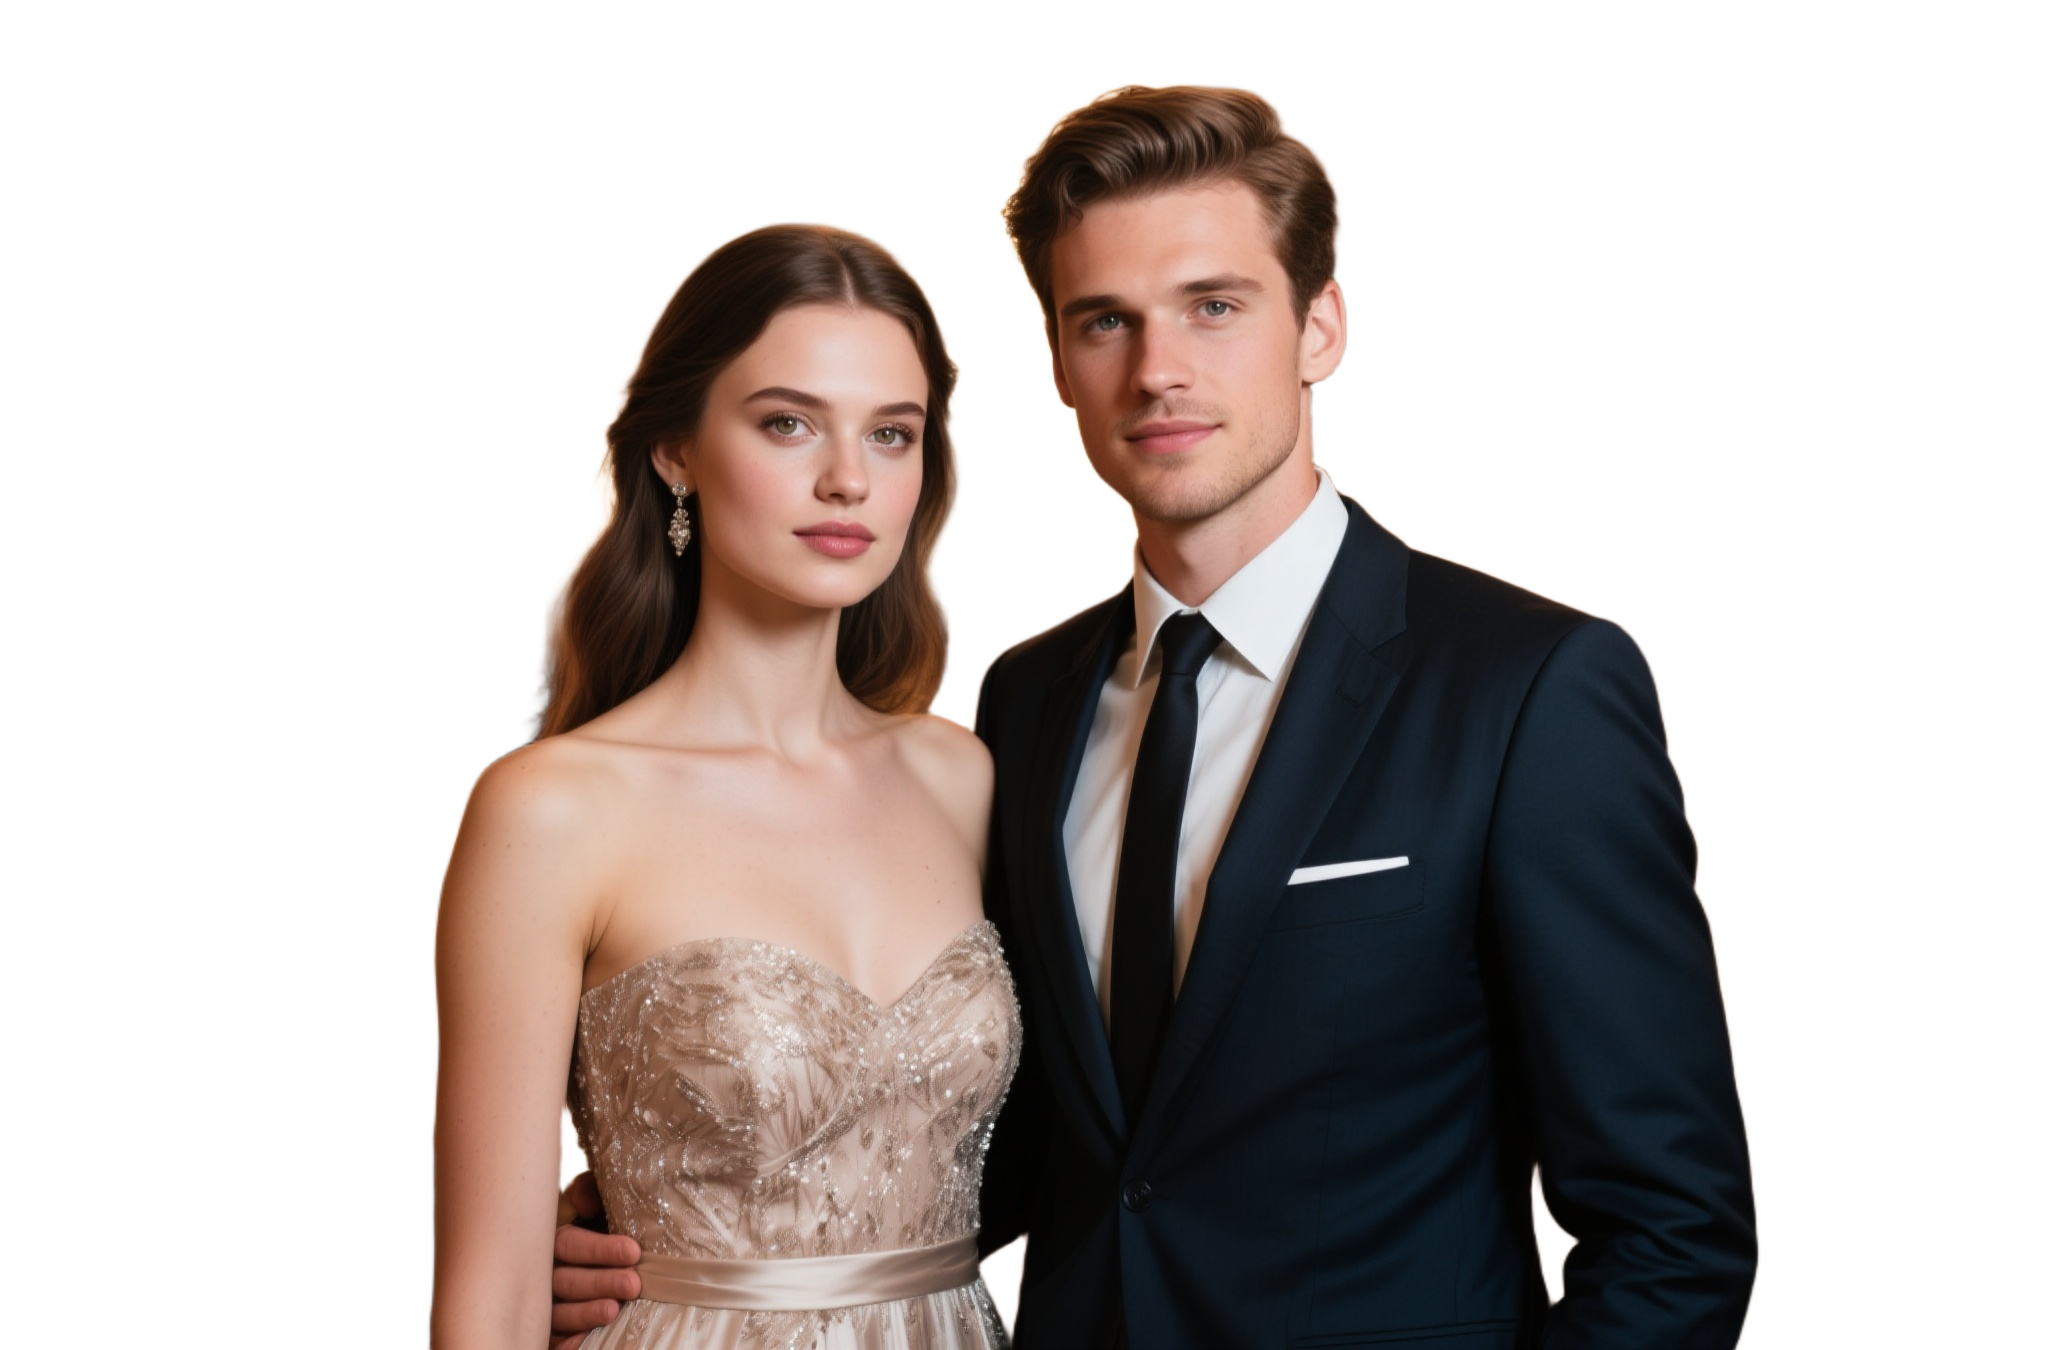
The Background Remover accepts JPG, PNG, and WebP files and outputs a transparent PNG. A completed removal uses 1 credit. Inspect the cutout around reflective surfaces, transparent packaging, fine wires, and soft shadows.
Prepare a larger final image
The Image Upscaler provides 2K, 4K, and 8K targets with JPEG, PNG, and WebP output. A completed upscale uses 2 credits. Upscaling predicts detail; it does not restore information absent from the original, so inspect labels and surface texture again.
Quality-control checklist
Before publishing, compare the generated asset with the approved product:
- Is the product shape correct?
- Are the brand name, label, numbers, and warnings accurate?
- Does the color match the real item closely enough for the intended use?
- Are reflections and shadows physically believable?
- Are included accessories accurate?
- Does the crop leave enough room for responsive layouts?
- Do you have permission to use all uploaded and generated elements?
Frequently asked questions
Can Nano Banana 2.1 replace a professional product shoot?
It can support concepting, background changes, campaign variations, and layout production. When accurate product representation is critical, approved source photography and human review remain necessary.
How do I stop the product label from changing?
Use a clear source image, ask the model to preserve the exact label and placement, and inspect the result at full size. For legally or commercially important text, replace generated lettering with the approved artwork during final production.
Should I generate the background and product together?
Image-to-Image is useful when you want the source product to guide the result. For stricter control, create or approve the product cutout separately, then place it in a designed background using your preferred editor.
What output size should I use?
Choose the size required by the final placement. Avoid creating an 8K file simply because it is available; larger files take more storage and still require detail inspection.
Build the first variation
Open the Nano Banana 2.1 image editor with one approved product photo and one clear objective. For more reusable wording, see the Nano Banana 2.1 prompt guide.