

Nano Banana 2.1 Prompt Guide: Templates for Better Image Results
A strong Nano Banana 2.1 prompt gives the model a clear subject, setting, composition, lighting, visual direction, and constraints. For photo edits, it also separates what should change from what must stay the same. The goal is not to write the longest prompt; it is to remove ambiguity from the result you need.
Try a prompt in the Nano Banana 2.1 editor
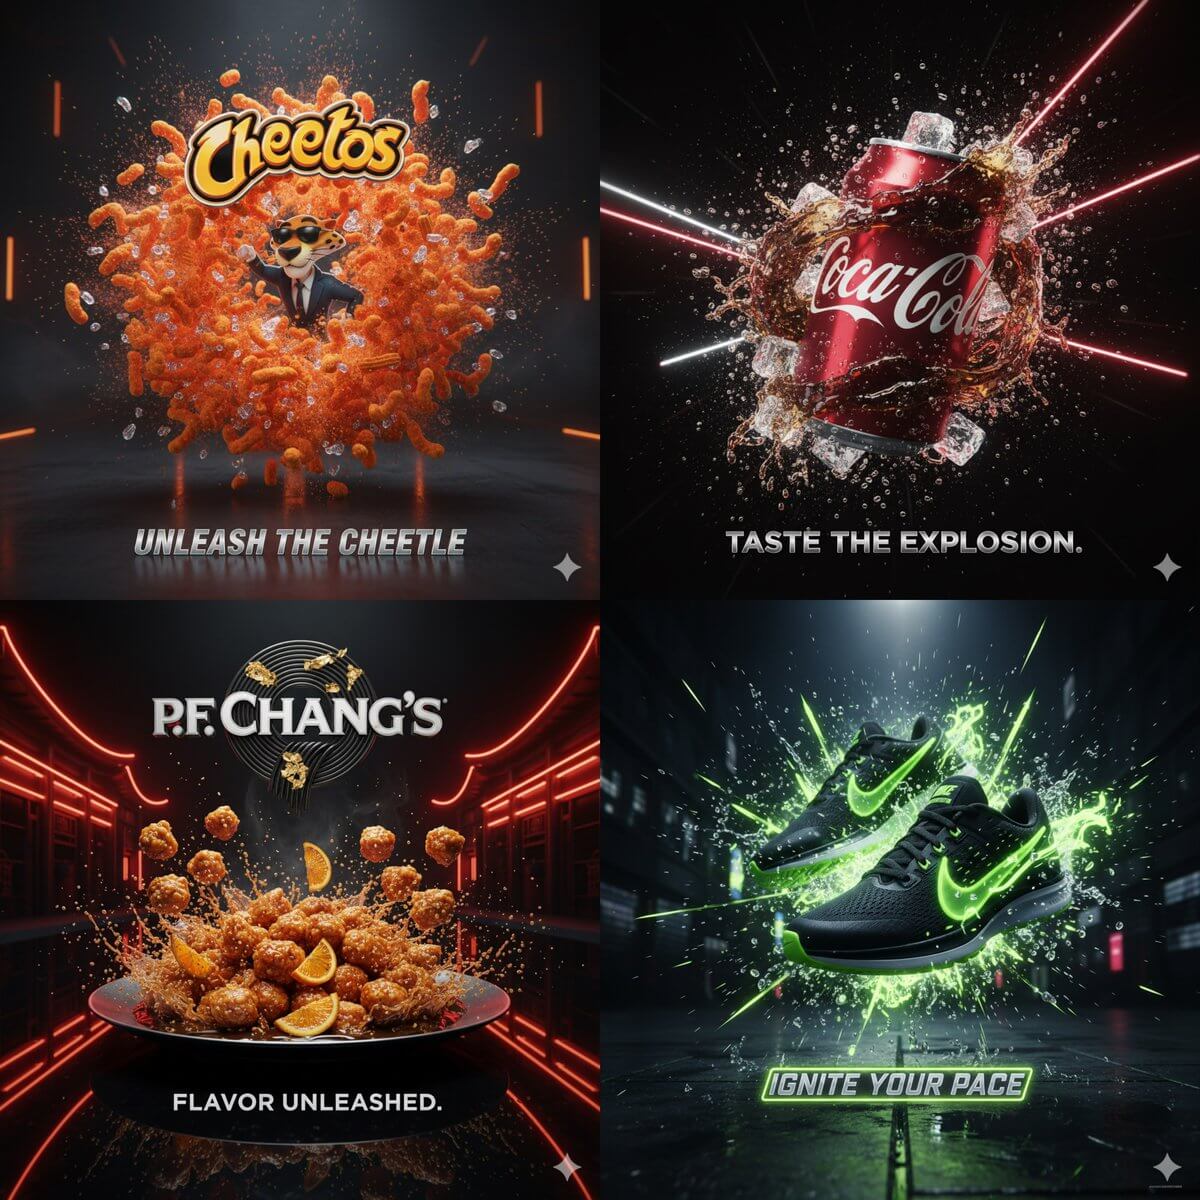
The short answer
Write prompts in this order:
Subject + action or purpose + setting + composition + lighting + visual style + required details + things to preserve.
For example:
A premium studio photo of a silver wristwatch on dark slate, centered three-quarter view, soft rim light and controlled reflections, luxury catalog style, sharp dial details, landscape layout with empty space on the right for a headline.
This describes one image with a clear purpose. It is easier to follow than a list of unrelated adjectives.
A seven-part prompt structure
1. Subject
Name the main person, product, object, or scene. Add defining characteristics that are visible and relevant.
Weak: “A shoe.”
Stronger: “A white leather low-top sneaker with a gum sole and minimal stitching.”
2. Action or purpose
Explain what is happening or what the image is for: a clean catalog packshot, a travel poster, an editorial portrait, a social announcement, or a product-in-use scene.
3. Setting
Describe the environment and supporting elements. Keep them relevant to the subject. Too many props compete for attention and make details harder to control.
4. Composition
Specify camera distance, angle, placement, and layout. Useful phrases include close-up, overhead, centered, three-quarter view, eye level, wide scene, and empty space for copy.
5. Lighting
Lighting shapes both mood and clarity. Try soft window light, diffused studio light, overcast daylight, strong backlight, or warm evening light. If product color matters, avoid conflicting colored light unless it is intentional.
6. Visual direction
Use concrete descriptions such as editorial photography, clean ecommerce catalog, paper-cut illustration, ink drawing, cinematic still, or flat geometric poster. A specific production direction is more useful than stacking words like amazing, beautiful, and trending.
7. Constraints
State required text, colors, aspect, and preservation rules. Put exact visible copy in quotation marks, keep it short, and inspect it before publishing.
Reusable prompt templates
Replace the bracketed parts with your own information.
Product packshot
A clean studio product photo of [product] on [surface or background], [camera angle and framing], [lighting], [material and color details], [catalog or campaign style], [required layout space].
Example:
A clean studio product photo of a cobalt-blue ceramic mug on warm white paper, front three-quarter view, soft diffused light from above, natural glaze texture and subtle contact shadow, modern homeware catalog style, square composition.
Lifestyle product image
[Product] being used in [realistic setting], [person or context if needed], [camera framing], [time and lighting], [details to keep visible], [space for copy].
Portrait
A portrait of [subject description], [expression and pose], [background], [framing and lens feel], [lighting], [wardrobe or color palette], [editorial direction].
Avoid claiming the identity of a real person unless you have permission to use their image. A reference photo should be clear enough to inspect the face and should not be heavily filtered.
Poster or social graphic
A [format] poster for [event or topic], featuring [main image], [visual hierarchy], [palette], [style], the exact headline “[short text]”, [text position], [aspect ratio].
Keep generated copy brief. Longer body text is usually better added later in a design tool.
Focused photo edit
Change [specific element] to [new result]. Keep [subject identity, product, pose, composition, logo, label, colors, camera angle, or lighting] unchanged. Match [desired realism and style].
Example:
Replace the gray wall with a bright gallery interior. Keep the person, face, hairstyle, black jacket, pose, crop, and camera angle unchanged. Match the original direction of light and use realistic floor shadows.
How to use reference images
Reference images can guide the subject, layout, palette, or style. Tell the model what each reference is for instead of expecting it to infer your priority.
- “Use the first image for the product shape and label.”
- “Use the second image only for the warm color palette and soft lighting.”
- “Keep the composition of the uploaded photo, but replace the background.”
The editor displays the reference limit for the selected model. Start with the fewest references needed to explain the task.
Prompt fixes for common failures
Too many details are wrong
Shorten the prompt to one main objective. Remove decorative elements that are not necessary. Generate the base scene before adding secondary changes.
The composition feels random
Add camera angle, framing, subject placement, and intended aspect ratio. Say where empty space should appear if the image will carry text.
The edit changes things you wanted to keep
Write a separate preservation sentence. Name the face, product, label, clothing, pose, and camera details that matter.
The style overwhelms the subject
Reduce style references and move the subject requirements earlier. Use one coherent visual direction rather than several competing genres.
Generated text contains mistakes
Quote the exact words, keep the copy short, and request generous spacing. Verify every character and number. Add critical legal or product copy later with a normal design tool.
A useful iteration method
- Generate a base version with the subject and composition.
- Identify the single largest mismatch.
- Update one instruction to address it.
- Compare the new result with the previous version.
- Repeat until the image is suitable for final inspection.
Changing five things at once makes it difficult to know which instruction helped.
Frequently asked questions
Should prompts be long?
Only as long as needed to define the result. A compact prompt with concrete visual instructions is usually more useful than a long paragraph of vague adjectives.
Can Nano Banana 2.1 copy a reference exactly?
No exact reproduction is guaranteed. References guide the result, but faces, products, text, and fine details still require review.
How do I prompt for a consistent product?
Reuse a clear reference, preserve the same named features, and avoid changing the camera angle and scene at the same time. Compare every output against the approved source.
Can I turn an image into a prompt?
Yes. The Image to Prompt tool analyzes visible subject, style, lighting, and composition to produce a descriptive starting point. It does not recover the image's original prompt.
Put the template to work
Open the Nano Banana 2.1 editor and start with one template above. If you are unsure which workflow fits the task, read Text-to-Image vs Image-to-Image.