

Text-to-Image vs Image-to-Image: Which Nano Banana 2.1 Workflow Should You Use?
Choose Text-to-Image when you need a new visual from an idea. Choose Image-to-Image when an existing photo, product, person, composition, or style should guide the result. Both workflows use written instructions, but they solve different starting problems.
Open the Nano Banana 2.1 editor
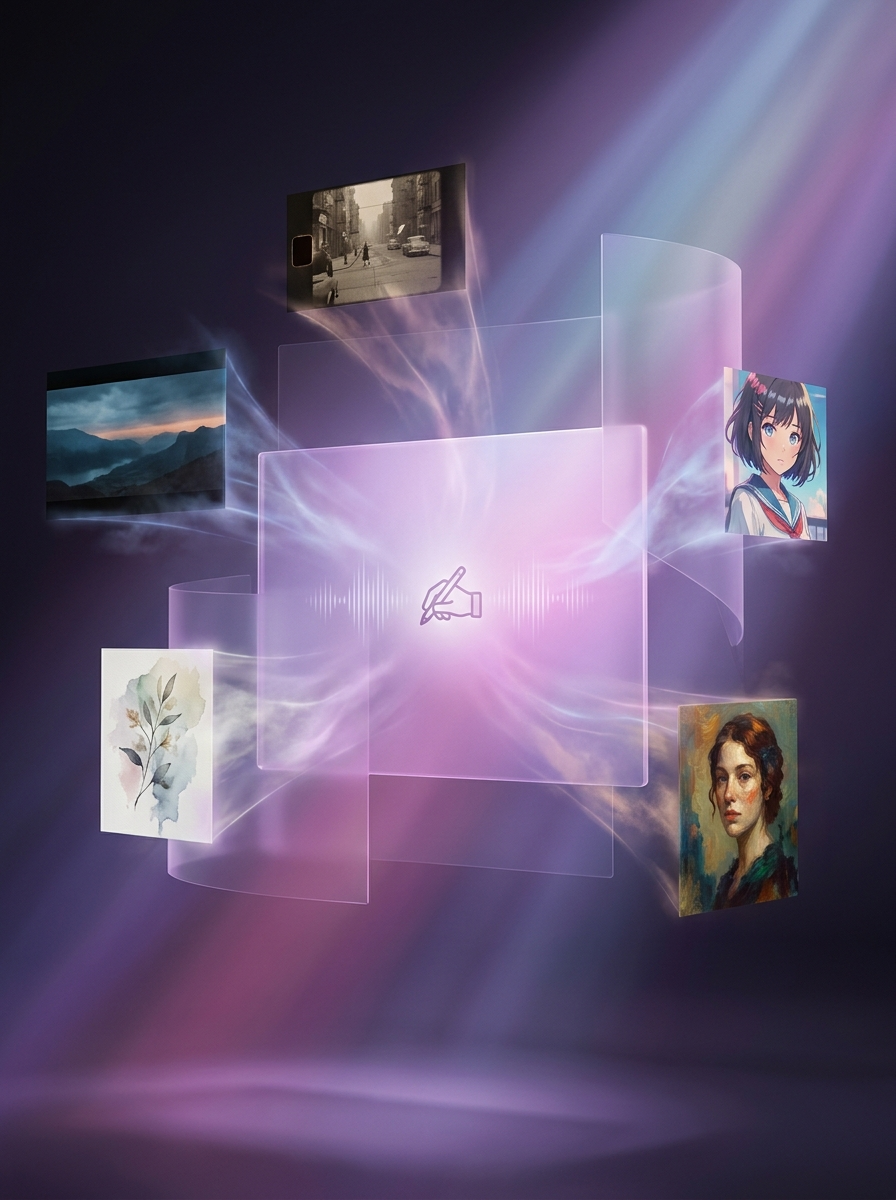
Quick comparison
| Decision | Text-to-Image | Image-to-Image |
|---|---|---|
| Starting input | Written prompt | Reference image plus instructions |
| Best for | New concepts and visual exploration | Focused edits and reference-led creation |
| Main control | Description of subject and scene | Reference content plus change and preservation rules |
| Common risk | The model interprets the idea differently | Important source details change during the edit |
| Useful examples | Illustration, concept art, campaign idea, new social image | Background replacement, product variation, portrait edit, layout restyle |
What Text-to-Image does
Text-to-Image creates a visual from a written description. You supply the subject, scene, composition, lighting, style, and constraints. It works well when there is no existing image that needs to survive the process.
Use it for:
- early creative concepts;
- original illustrations and scenes;
- social graphics and campaign directions;
- visual exploration across several compositions;
- images where exact product or person continuity is not the first requirement.
Example prompt:
A small reading cabin beside a misty lake at dawn, wide composition, warm light glowing from the windows, quiet cinematic atmosphere, realistic landscape photography, room in the upper-left sky for a headline.
The strength of Text-to-Image is freedom. Its limitation is that words alone may not precisely describe an existing face, product, package, or layout.
What Image-to-Image does
Image-to-Image starts with one or more supported references and uses written instructions to create an edit or a new image guided by those references.
Use it for:
- changing a photo background;
- keeping a product or person recognizable across a new scene;
- exploring a style while retaining an existing composition;
- producing layout or campaign variations from an approved asset;
- giving the model visual information that is difficult to describe in words.
Example edit prompt:
Replace the office background with a bright modern studio. Keep the person, face, hairstyle, blue shirt, seated pose, crop, and camera angle unchanged. Match the original light direction and use natural shadows.
The strength of Image-to-Image is visual guidance. Its limitation is that exact preservation is not guaranteed, so the result must be checked against the reference.
Choose by the part you cannot afford to lose
Ask one question: what information is hardest to recreate?
- If the answer is “nothing; I am exploring a new idea,” start with Text-to-Image.
- If the answer is “this product, person, label, pose, or layout,” start with Image-to-Image.
- If the answer is “the style,” use a style reference and say which visual qualities should guide the result.
- If the answer is “exact typography or legal copy,” generate the visual foundation, then add the final text in a conventional design tool.
Four practical scenarios
1. Create a new campaign concept
Start with Text-to-Image. Describe the subject, audience, setting, layout, palette, and placement for copy. Once a direction is approved, a reference-led workflow can help create variations.
2. Put an existing product in a new setting
Start with Image-to-Image. Upload the approved product photo and protect the shape, finish, label, logo, proportions, and camera angle in the instruction. See the product photography guide for a complete workflow.
3. Create an illustration with no source image
Start with Text-to-Image. Give the model a clear scene and visual direction. Add references only if a palette, character, or composition must guide later versions.
4. Change one part of a portrait
Start with Image-to-Image. Name the exact change and separately list the face, hair, expression, clothing, pose, crop, and lighting details to preserve.
Can you use both workflows together?
Yes. A useful sequence is:
- Generate a new concept with Text-to-Image.
- Choose the strongest result.
- Use that result as a reference for focused Image-to-Image changes.
- Create format or scene variations one change at a time.
- Inspect the selected final image and prepare its delivery format.
This turns broad exploration into controlled iteration.
How settings affect the decision
The editor displays the resolutions, aspect ratios, reference limits, and credit cost available for the selected model. Choose the aspect ratio for the final placement before investing in detailed iterations. A portrait social image and a wide website banner need different compositions even when they share the same subject.
Available settings can change with the selected model, so use the options shown in the editor rather than assuming every workflow exposes the same choices.
When neither workflow guarantees the final result
Both workflows generate or estimate image content. Neither guarantees exact faces, exact product reproduction, perfectly readable text, or recovery of detail absent from a source image.
Use human review for:
- identity and facial details;
- logos, labels, prices, and required wording;
- product geometry and color;
- hands, small objects, and repeated patterns;
- permissions for uploaded and generated material.
Frequently asked questions
Is Image-to-Image always more accurate?
It provides visual guidance, but accuracy depends on the reference, instruction, model, and requested change. A poor or conflicting reference can make the task harder.
Can I use multiple reference images?
Use the number supported by the model shown in the editor. Explain the purpose of each reference and avoid combining conflicting subjects, layouts, and styles without a clear priority.
Which workflow is better for posters?
Use Text-to-Image for a new poster concept. Use Image-to-Image when an existing product, person, or approved visual must appear. Keep required generated text short and check it carefully.
Which workflow is better for ecommerce?
Image-to-Image is often the useful starting point when an approved product photo must guide the result. Text-to-Image can help explore backgrounds or campaign directions before applying them to the product workflow.
Choose a workflow and start
Open the Nano Banana 2.1 editor. Start with Text-to-Image for a new idea or Image-to-Image for a reference-led task, then use the prompt guide to make the instruction more precise.