

Nano Banana 2.1 Background Replacement: Keep Subject Details
To replace a background with Nano Banana 2.1, start with Image-to-Image, upload the photograph, and describe both the new setting and the subject details that must survive. Keep the first request narrow. Then compare the edited subject with the original before judging whether the new scene looks attractive.
Open the Nano Banana 2.1 photo editor when you have a source photograph. This guide follows a teal ceramic watering can moving from a busy tabletop into a simple studio scene. The prompts are original examples to try; they are not tested outputs or a guarantee of unchanged pixels.
Google describes the model as supporting conversational image editing in its model documentation. Its model card also acknowledges imperfect consistency and occasional spatial confusion. Treat “keep the subject unchanged” as an instruction to check, rather than proof that the subject has been preserved.
Decide whether you need a new scene or a cutout
A finished scene and a transparent asset are different deliverables. Choose the route before spending credits.
| Your deliverable | Starting route | What you still need to check |
|---|---|---|
| A photo in a different room or studio | Image-to-Image with a background description | Subject fidelity, perspective, shadows, and background details |
| The original subject on transparency | Background Remover | Thin edges, holes, hair, glass, and the downloaded PNG's transparency |
| A layout requiring an exact approved subject | A checked cutout placed in a layout or image editor | Edge cleanup, scale, lighting compatibility, and contact shadow |
| A scene without an existing subject to preserve | Text-to-Image | Whether the invented subject meets your brief |
For an approved package, identity photo, or other asset where the subject must remain exact, a cutout and manual composition may offer more control. A generative edit can redraw details even when the prompt says otherwise. A request for a white background also does not establish that the download has a transparent alpha channel.
Prepare a source you can compare against
Keep an untouched copy of the photograph. Choose a view where the subject's full outline and important details are visible. A background replacement cannot reliably reveal the true shape of a handle hidden behind another object.
For the watering can, note the long spout, handle opening, rim, teal glaze, proportions, camera angle, and crop. These details form the acceptance checklist. For a portrait, the corresponding list might include the face, hairstyle, earrings, clothing, hands, and pose.
Identify objects that touch or overlap the subject. A plant stem crossing the handle is a different problem from clutter behind the can. If the edit must reconstruct a hidden part, plan to inspect it against another genuine reference or use a better source photograph.
Use only photos and other material you have permission to edit. If you add a second reference, explain its role: the first controls the subject; the second suggests the setting. A reference with its own prominent object can introduce unwanted subjects. The reference-image guide covers that role assignment in more detail.
Describe the replacement as a physical setting
“Make it professional” leaves the model to invent the room, surface, lighting, and crop. Specify a few compatible choices instead: a peach studio backdrop, a pale stone support surface, and soft light from the upper left.
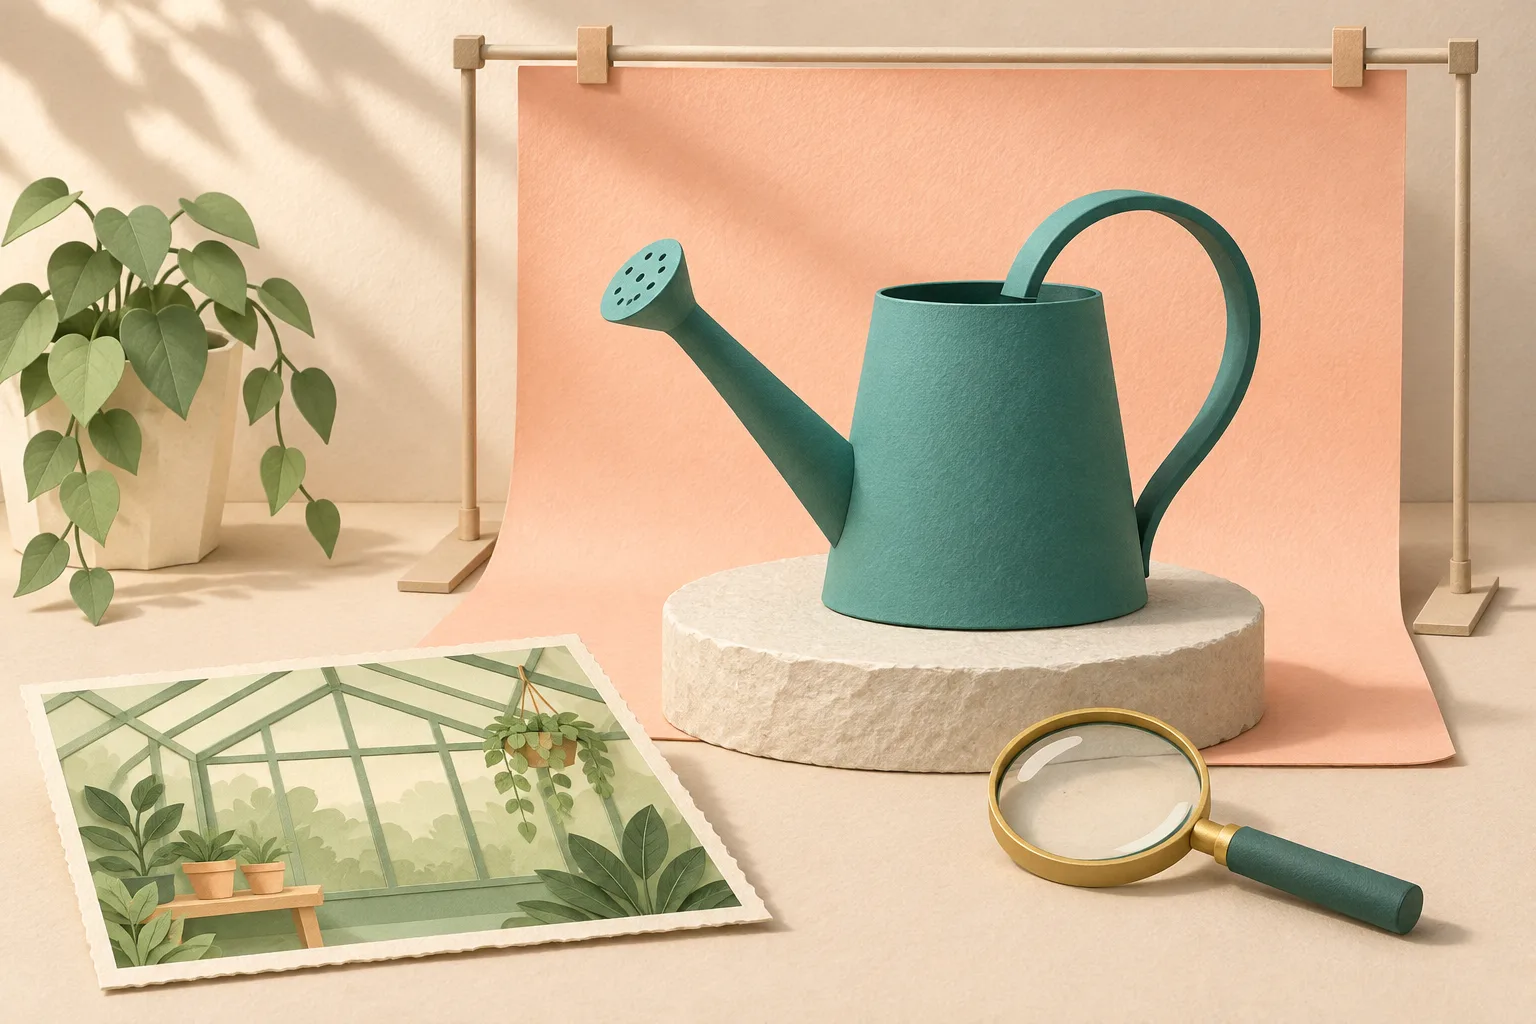
Original background-planning concept illustration. It is not a Nano Banana 2.1 editing result or a before-and-after test.
The illustration separates the subject from the setting conceptually. It does not mean the editor exposes separate layers, a mask, or an automatic subject lock.
Try this prompt with your own suitable photograph:
Replace only the busy background and tabletop setting with a simple pale peach studio backdrop and a pale stone surface. Preserve the single teal ceramic watering can: its silhouette, long spout, curved handle and handle opening, rim, glaze color, proportions, camera angle, and position in the frame. Match the existing soft light from the upper left and add a natural contact shadow where the can rests on the surface. Leave the subject fully visible. Do not add flowers, text, logos, extra cans, or decorations.
Change the material and light description to match your source. A fixed instruction for upper-left light is inappropriate when the photograph clearly has a bright highlight on the right. Matching the existing light usually makes a background-only brief easier to assess than requesting a new environment and a major relight together.
Generate one controlled first version
Sign in, choose Nano Banana 2.1, select Image-to-Image, and upload the source. Keep the output ratio close to the original when preserving the frame matters. An intentional crop change is possible, but it adds another variable to review.
Enter the replacement prompt and check the resolution, image count, and displayed credit charge before generating. Start with one version if the brief is still uncertain. Higher resolution does not repair an incorrect handle shape or changed face.
Download the result and compare it with the original at similar display sizes. Preview thumbnails can hide edge damage. Look at the complete image first, then inspect the subject at full size.
Review the subject before reviewing the scenery
Use a fixed order so an attractive background does not distract from a changed subject.
- Identity and shape: compare the outline, proportions, face or product features, and pose. For the can, count the spout and handle openings and check their geometry.
- Edges and holes: inspect the handle opening, fine hair, thin straps, and gaps between fingers. Look for old background color, bright halos, or missing material.
- Surface details: compare logos, small lettering, texture, color, and reflections with the source. A plausible replacement mark is still wrong.
- Placement: check the subject's scale, camera perspective, and contact with the surface. It should not float or sink into a tabletop.
- Light and context: check whether the contact shadow, reflected color, and background perspective agree with the photograph.
Glass, polished metal, and translucent fabric deserve extra care because they can retain visible clues from the old setting. If an exact commercial asset matters, use the original for the final subject and handle the surrounding composition separately.
Revise the observed problem
Make the next request about the defect you can identify. Avoid adding a new style, location, and camera angle while repairing one edge.
| Observed defect | Focused next step |
|---|---|
| The handle opening contains the old tabletop | Specify that the opening should show the new backdrop; recheck the handle shape afterward |
| The subject looks as though it floats | Ask for a soft contact shadow at the base without changing the subject or camera angle |
| The color or logo changed | Return to the original reference and restate the preservation requirement; use a cutout workflow if exactness remains unreliable |
| The background introduces unwanted props | Name the props to remove and describe an uncluttered surface |
| The new setting needs different illumination | Treat relighting as a separate decision and review the subject again afterward |
For the last case, the photo relighting guide explains how to brief a light source and inspect its effects. Keep the original available throughout the process; repeated edits should not quietly become the only record of the subject.
Set a retry limit before generating more versions. The pricing and credit guide explains output and revision budgeting. Judge the cost by the image you can actually accept, including any manual cleanup, rather than by the price of one attractive preview.
Deliver the checked file
Download the accepted image, inspect its actual pixel dimensions and format, and place it in the intended layout. Check it at the size viewers will see. Preserve the original, accepted output, prompt, and any finishing steps so the next variation has a reliable starting point.
If your deliverable is a transparent cutout, confirm transparency in a viewer that displays an alpha background. If it is a complete studio photograph, inspect the final background and subject together. Finish when the file meets the brief, rather than when a preview merely looks different.
Ready to change a setting? Upload your photo in the editor, write one background replacement request, and keep the original beside the result for review.
Workflow and documentation checked November 3, 2026. Written by the Nano Banana 2.1 team; this guide does not report a controlled editing benchmark.