

Nano Banana 2.1 Outfit Change: Keep the Same Portrait
To change an outfit in a Nano Banana 2.1 portrait, start with the original photo and replace one visible garment at a time. Say where the replacement begins and ends, and name the parts of the portrait that must stay: face, expression, hair, body proportions, pose, and anything in front of the garment. Review those details before deciding whether you like the new outfit.
In the Nano Banana 2.1 image editor, choose Image-to-Image and upload the portrait. This guide uses a fictional example: a navy cardigan becomes a sage work jacket in a waist-up portrait. The person’s crossed arms, earrings, dark bob, camera angle, and gray studio stay in the brief.
Google DeepMind’s model card includes character editing among the tasks it evaluates and notes that consistency and instruction following remain imperfect. Use the workflow for wardrobe concepts and review the result against the source. It cannot tell you whether a real garment fits or guarantee that a face stays unchanged.
Give each reference one job
Use a portrait that shows the garment boundary you want to change. For a jacket, look for a readable neckline, shoulders, and sleeve edges. If a hand, lock of hair, or bag strap crosses the jacket, make sure the reference shows where that object sits. Keep the original file for comparison.
A written garment description is enough if you want to explore a general style. Use a separate garment photo when a detail such as a standing collar or patch pocket matters. A flat lay makes it easier to show those details without introducing a second face or pose. Identify the portrait as the source for the person, scene, and framing, and the garment photo as the source for clothing only. See the reference image guide for more ways to assign those roles.
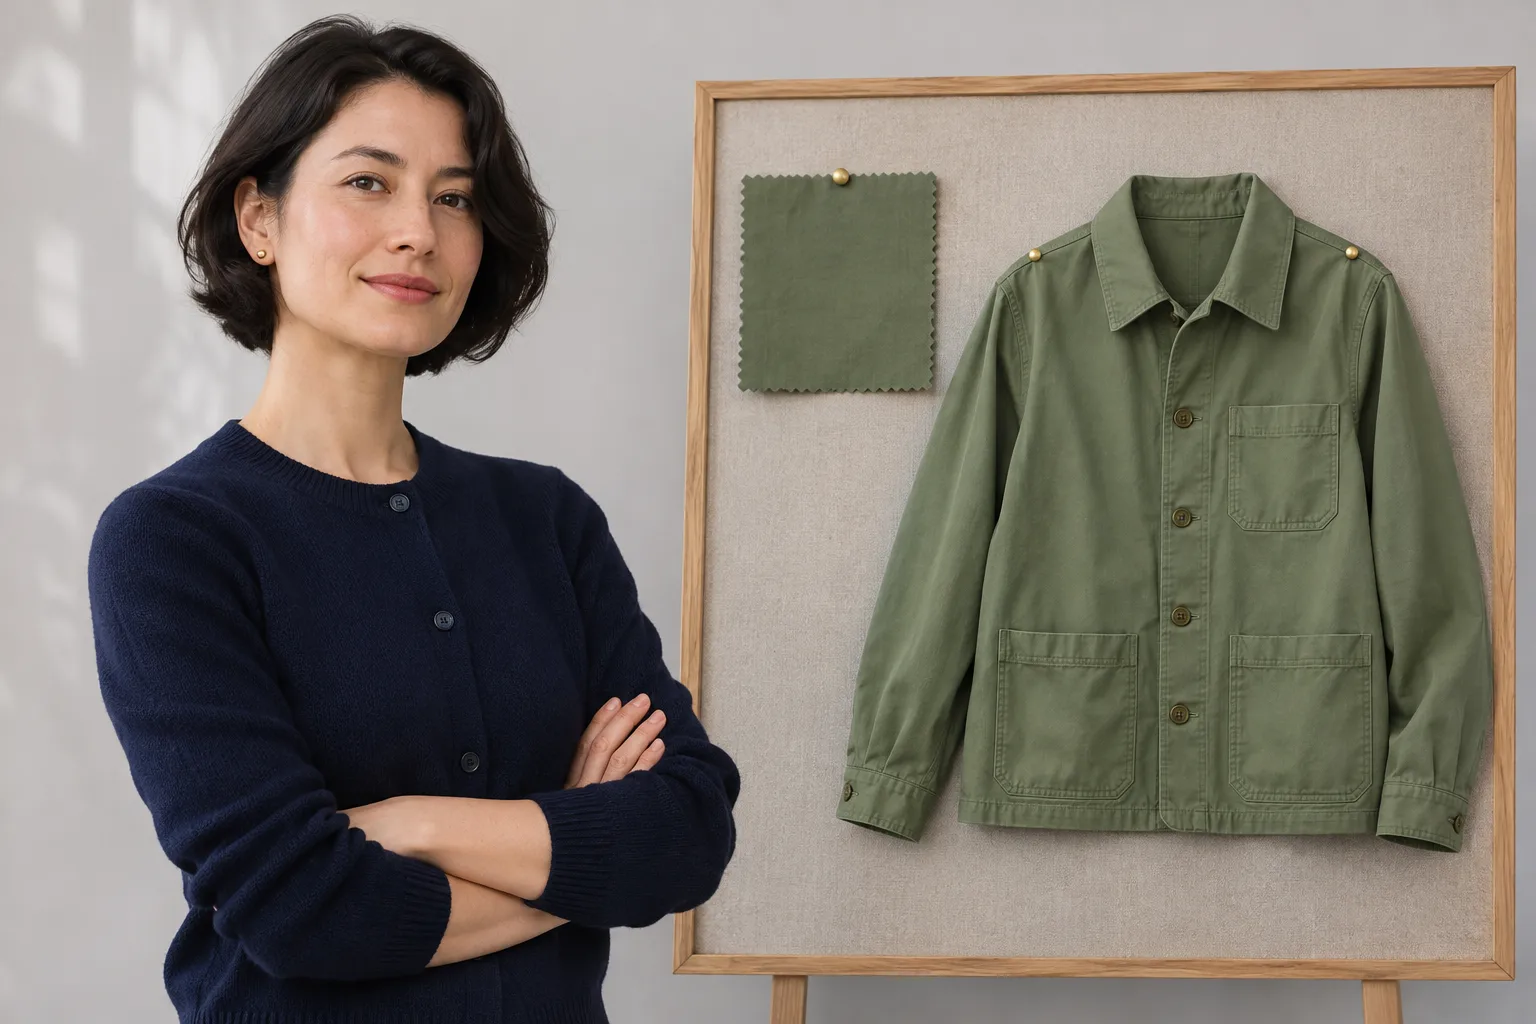
Concept illustration: the portrait supplies identity and pose; the garment reference supplies clothing details.
Describe only details visible in the final crop. A waist-up portrait cannot verify the full jacket length or how it falls when the person walks. If the new design changes how much of the neckline is visible, name the intended collar and check the resulting transition to the skin. For creative exploration, a plausible interpretation may be fine. For a real garment, compare against product photographs and specifications before handing over the image.
Write the edit around the garment boundary
Start with the item you want to replace and describe its silhouette, color, material, and visible closures. Then say what should remain in front of it. An instruction like “keep the same person” leaves the face, hands, and body shape implicit; spell them out.
Replace only the navy cardigan visible in this waist-up portrait with an unbranded sage-green cotton work jacket. Give it a short standing collar, a matte finish, and plain seams. Keep the same face, expression, short dark bob, gold stud earrings, crossed arms, hands, body proportions, camera angle, crop, light, and gray background. Keep the forearm in front of the jacket and the hair in front of the collar where it overlaps in the source. Do not add a bag, accessories, or logos.
If you add a garment reference, try: “Use the first image for the person and scene. Use the second image only for the jacket collar, material, and pocket shape.” Remove the extra reference if you only need a broad styling direction and it introduces competing details.
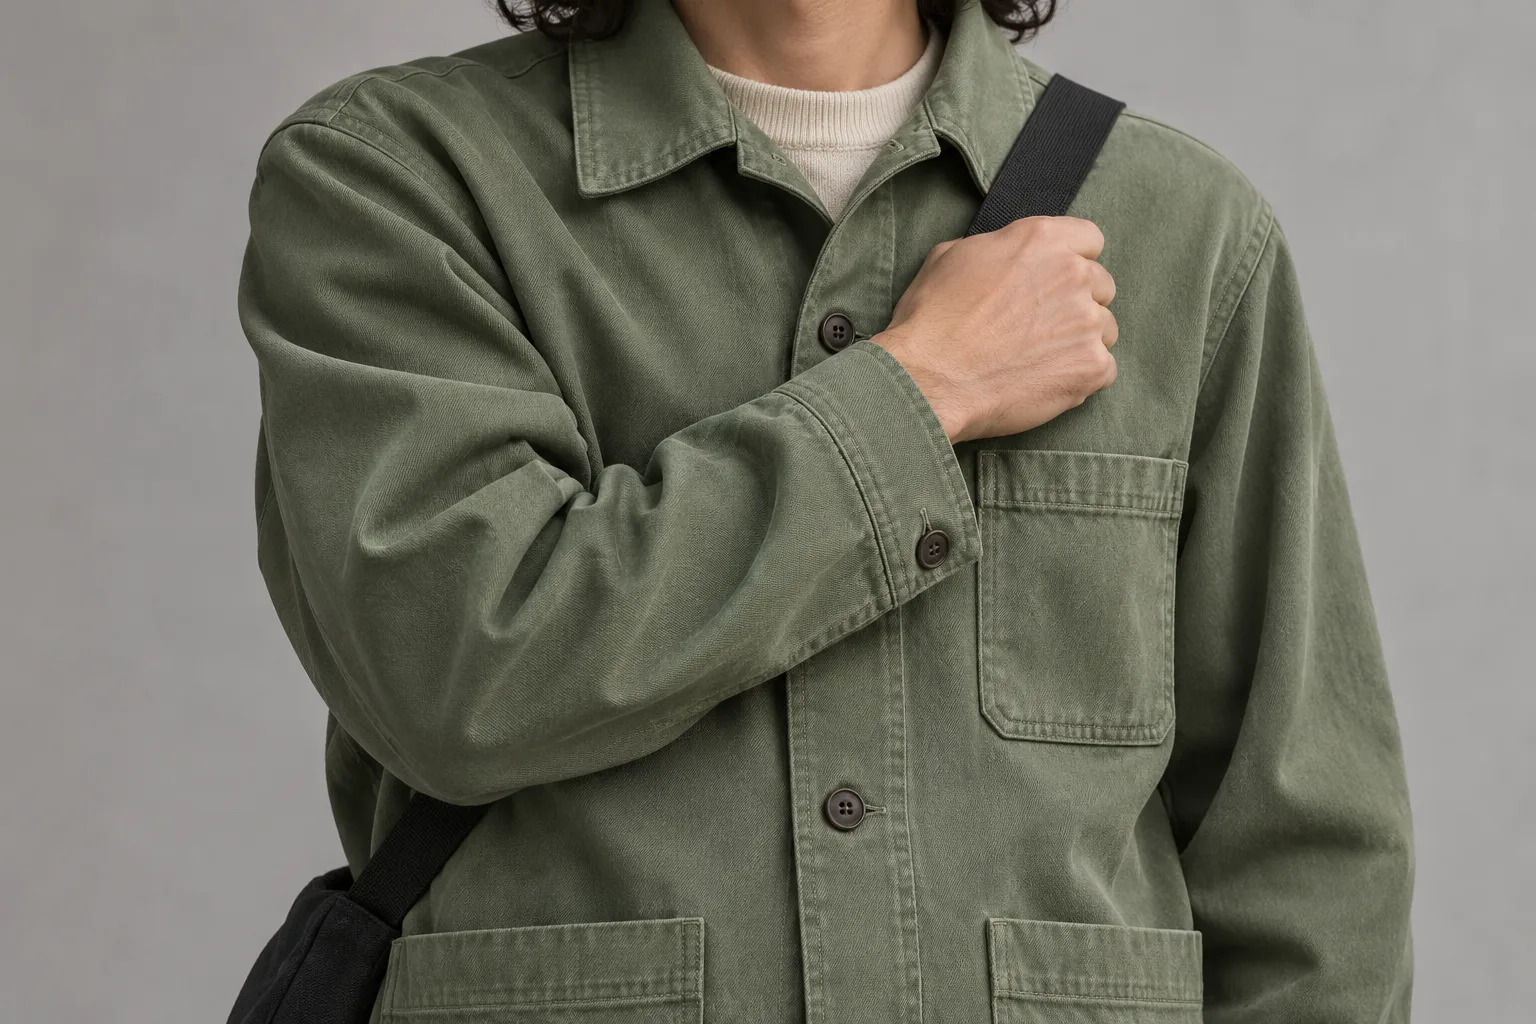
Concept illustration of layer order in a separate example with a bag strap.
Treat the clothing boundary as a depth problem as well as a color problem. The jacket goes behind a crossed arm, but a bag strap can sit over the jacket and pass under that arm. Say which layer is in front in the source. Avoid asking for a new jacket, pose, and background in one pass: if the image changes in several places, it is harder to tell which instruction caused the drift.
Review identity before judging style
Put the original and candidate side by side at the same crop. At thumbnail size, check expression, head angle, shoulder position, and arm silhouette. Then zoom in on the face, hands, hairline, jewelry, collar, and intersections with accessories. A convincing jacket is of little use if a hand has lost a finger, a stud has disappeared, or the editor has narrowed the shoulders.
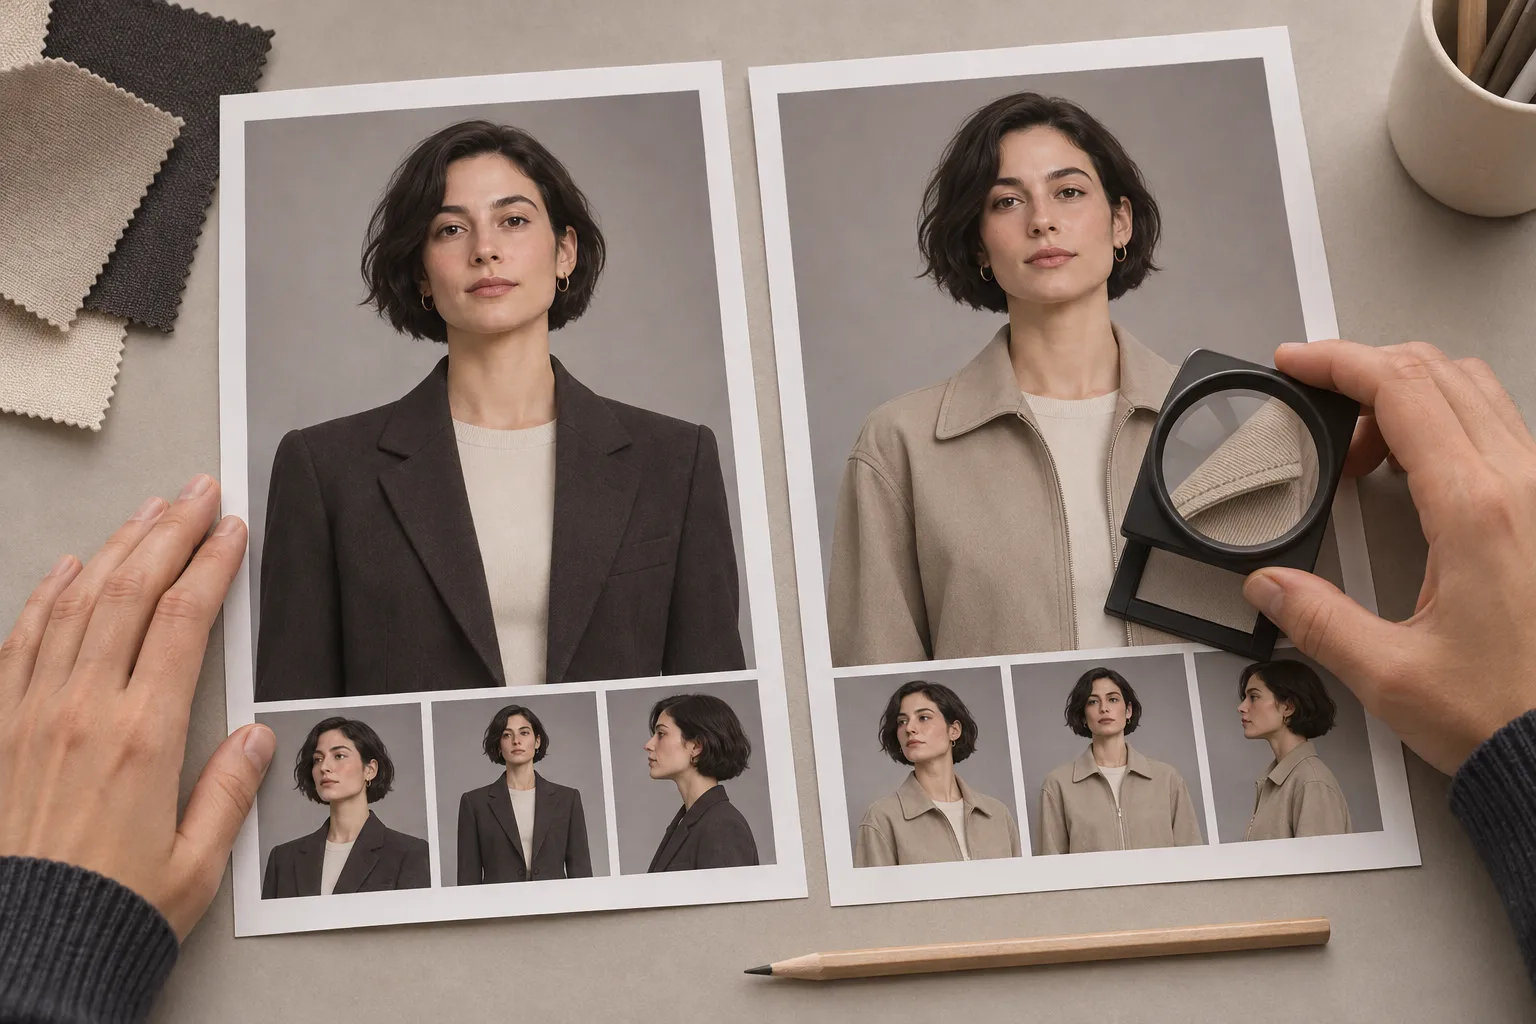
Concept illustration of a review setup. These are not model test results.
| What you see | What to do next |
|---|---|
| The face or expression changed | Return to the original portrait and run a narrower edit. If the unchanged face is a hard requirement, use a manual composite or a targeted edit you can inspect and control. |
| The jacket overlaps a hand or strand of hair | Name the exact boundary and its layer order. Keep the original position of the hand or hair. |
| The shoulders became wider | Restate the original shoulder outline and body proportions. If the garment genuinely needs a bulky cut, decide how much change is acceptable before retrying. |
| A bag strap breaks at the sleeve | Say which section is visible over the jacket and where the forearm hides it. Reject invented buckles or disconnected segments. |
| Pockets or closures differ from a real jacket | Compare against the garment reference. If the details still drift, use an actual garment photo for an asset that represents the item to customers. |
For alternatives, go back to the same source portrait for each new garment. Repeatedly editing the latest output can carry previous changes into the next candidate. If only the setting should change, use the separate background replacement guide. If the clothing is correct and the face still looks different, do not try to hide that difference by relighting or cropping.
Export the selected concept and keep the original portrait, garment reference, prompt, and review decision together. Label the asset as a wardrobe concept when it depicts a proposed look. For a catalog or fit decision, verify the actual garment, sizing, and appearance with real product information.
The examples and images illustrate an editing and review method. They do not report a controlled Nano Banana 2.1 test. Site workflow and source documentation checked November 11, 2026.