

How to Remove Objects with Nano Banana 2.1
To remove an object from a photo with Nano Banana 2.1, identify the object, explain what should replace it, and name the nearby details that need to survive the edit. An object can hide a stretch of wood grain, a tile seam or a shadow cast by something else. The editor has to infer that missing area, so the job is more than erasing a silhouette.
Start in Image-to-Image with the original full frame. This guide uses a small orange cup on an oak counter. The goal is to clear the counter while keeping the notebook, wall, lighting and framing. If you need to remove the entire scene behind a subject instead, use the background replacement guide.
Work out what the object covers
Trace the object's edges and look just outside them. Which lines run into the silhouette and emerge on the other side? Which reflections or shadows belong to the object? If a cup sits in front of a grout line, the replacement must extend both the tile seam and the countertop, with a clean transition at the back of the counter. A clear reference from the same viewpoint, if you have one, reduces the amount you have to infer.
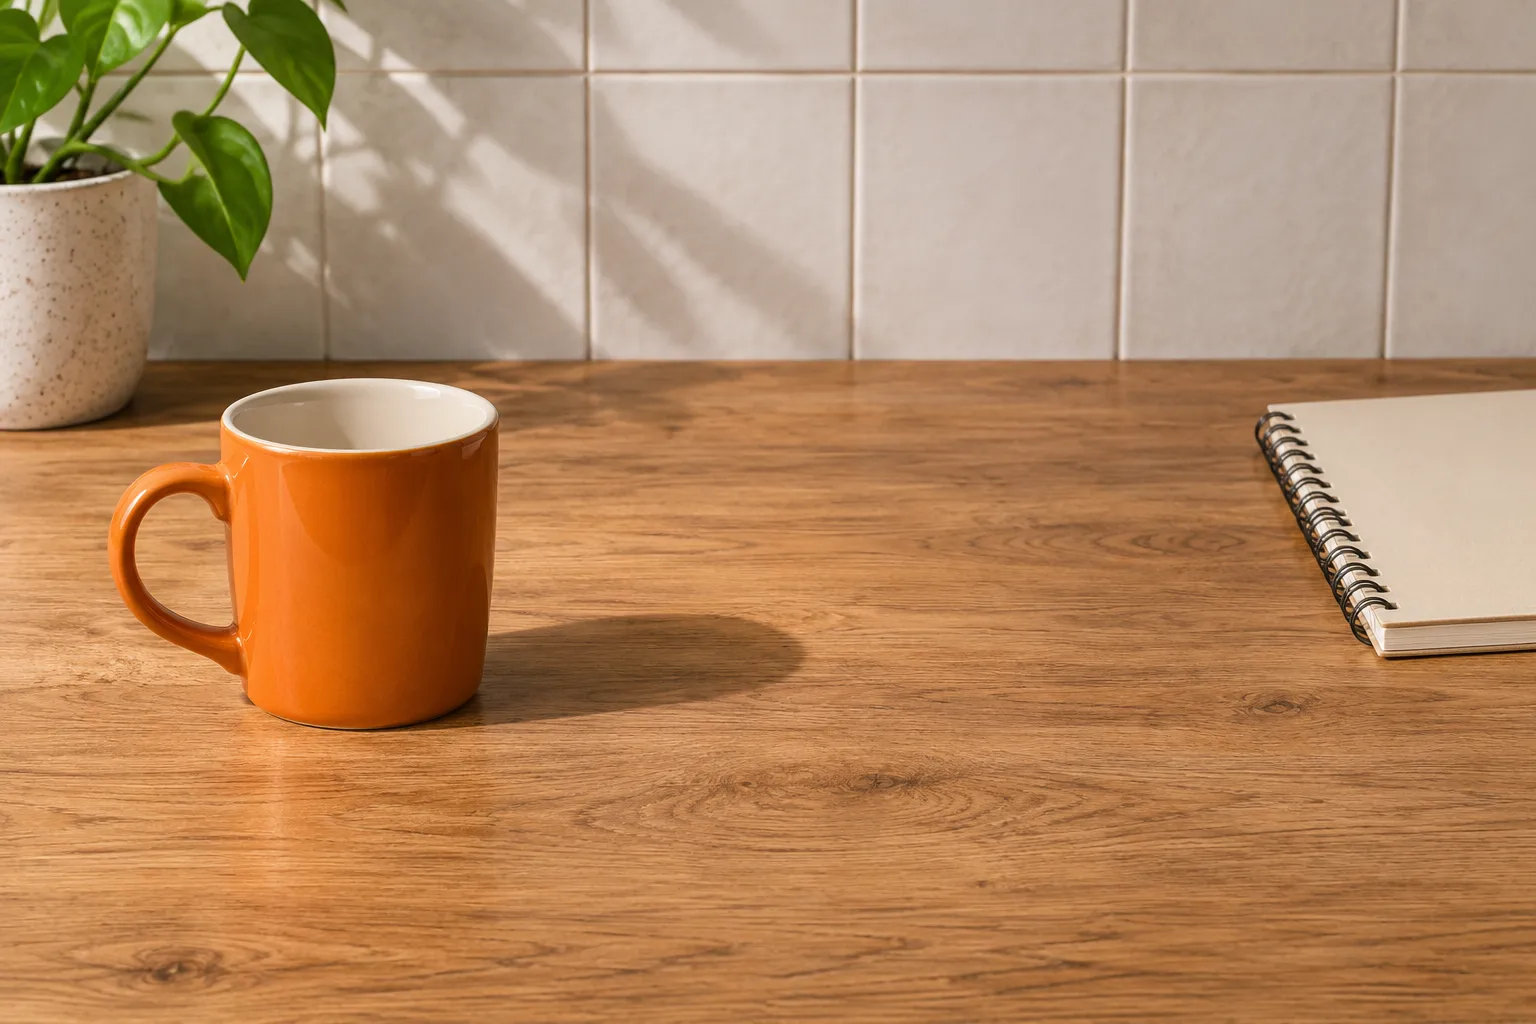
Concept illustration: identify the target and the objects to keep.
Choose a starting image that gives you enough context. A tight crop may make the object obvious but hide where a seam is supposed to go. Use the full image for the edit and a zoomed view for inspection. If two similar objects share a frame, use a visible landmark in the instruction: “the orange cup in front of the grout seam” identifies the target more clearly than “the item on the left.”
Prompt for the replacement surface
Specify three things: the object and its own traces, what belongs in the cleared area, and what to preserve outside it. If the cup casts a shadow that touches the notebook's shadow, direct the editor to remove only the cup's contribution. Keep the shadow made by the notebook.
Remove the orange ceramic cup in front of the wall seam and its contact shadow only. Continue the pale oak grain through the cleared countertop and reconnect the grout line where the cup blocked it. Leave the notebook, its shadow, surrounding tiles, framing and lighting unchanged. Do not add another object.
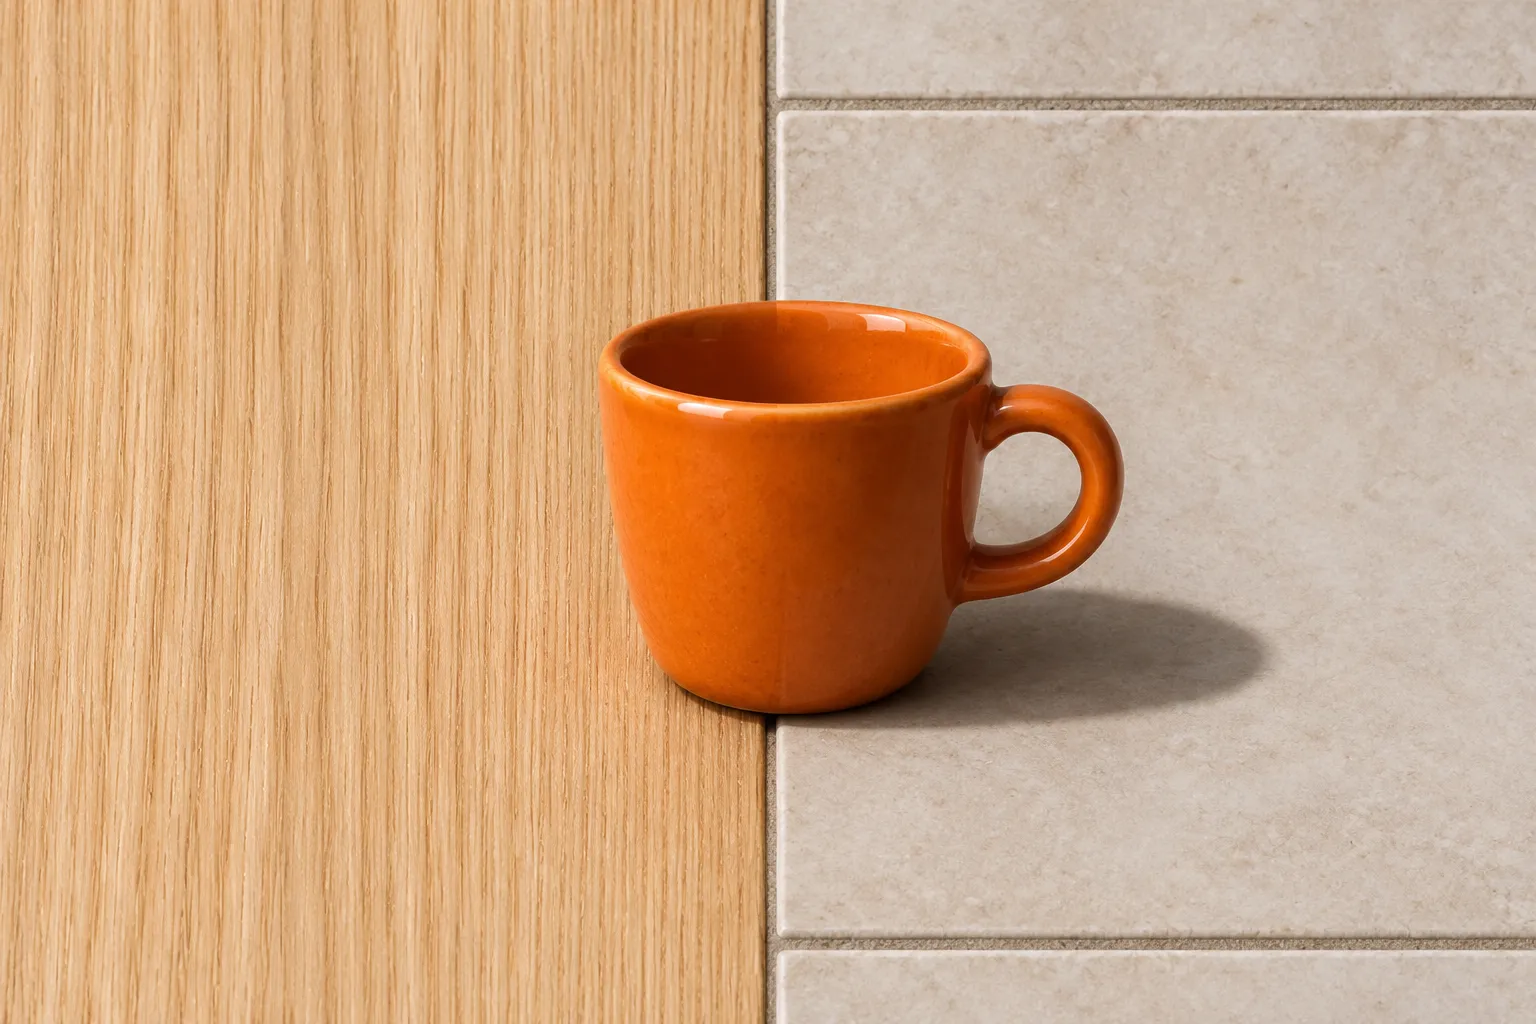
Separate concept illustration: identify each visible surface at the target boundary.
A prompt can describe the edit area without promising a pixel lock. The DeepMind model card includes object and environment editing in its evaluation scope and notes that spatial localization can be imperfect. Check where the change actually landed. If a visually similar object also disappeared, restart from the original with a stronger landmark and a narrower instruction.
For an object reflected in glass, describe the reflection separately. If you cannot tell which highlights belong to the object, first review the full scene. “Remove all reflections” can wipe out the evidence that the surface is glass.
Inspect the new patch at two scales
At normal size, compare the edit to the original and check that the framing and the rest of the image stayed stable. At full size, follow seams and grain through the new area. Look for abrupt texture changes, short repeated marks, doubled edges, and residual color or shadow. A candidate can look convincing as a thumbnail and still fail on a large product page.
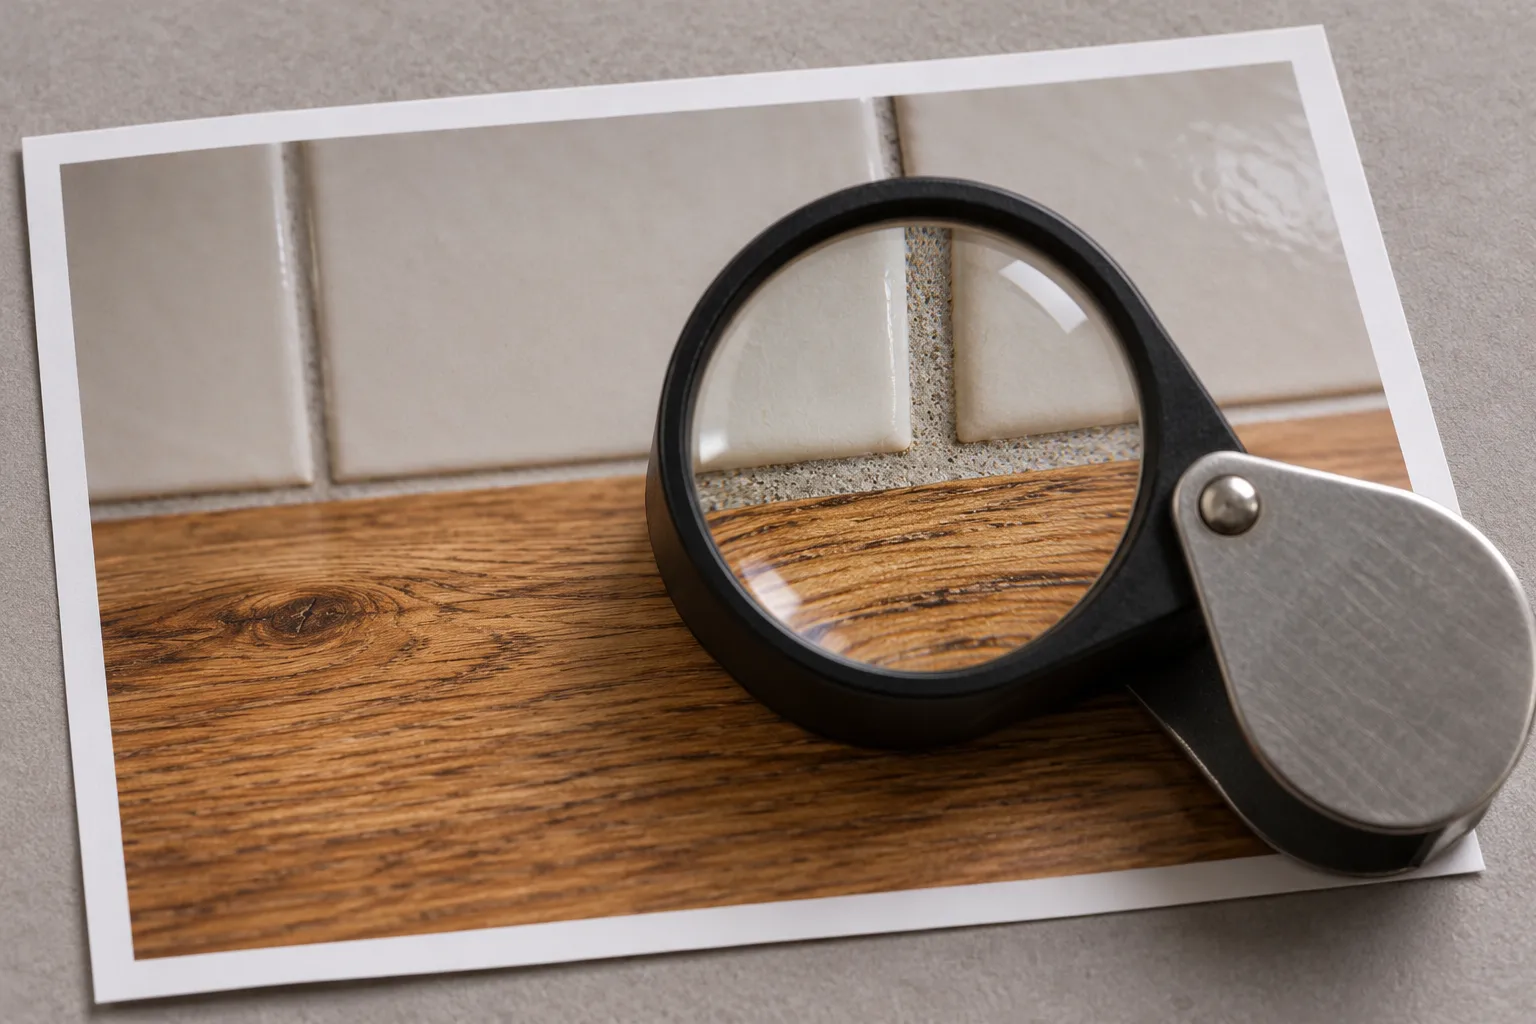
Concept illustration: inspect grain and seams at full size.
| What went wrong | What to try |
|---|---|
| The object vanished but left a colored rim | Ask to clear the rim along the described edge and restore the adjoining material. |
| A straight line bends through the patch | Name the two visible endpoints and request a straight continuation. Stop if the geometry must match a measured surface. |
| The edit removed another object's shadow | Return to the original and distinguish the two shadow sources. |
| A nearby label, face or product changed | Reject the result. Use a more controlled retouch or composite if the detail must stay exact. |
| Important detail was hidden by the object | Use a clean source photo or a matching reference. Do not treat inferred detail as evidence of what was there. |
Save the original and a separate edited copy. For a stylized illustration or a cleaner presentation photo, a believable fill can be enough. For a property listing, a catalog image or a documentary record, check whether removal changes a fact the viewer needs to know. When the area carries important information, a clean reshoot can be more useful than another generation.
This guide illustrates an editing workflow. The illustrations are original concepts, not before-and-after results from Nano Banana 2.1. Model documentation checked November 14, 2026.